DIY Water Filtration: Exploring the Science of Clean Water
10 July 2025
We all know water is life, right? It's literally the one thing we can’t survive without for more than a few days. But here’s the catch—just because water looks clear doesn’t always mean it’s clean. That’s why understanding how to build your own DIY water filtration system isn’t just cool; it can be life-saving. Whether you’re camping, hiking, facing an emergency, or just curious about science, building your own water filter is practical, fun, and surprisingly eye-opening.
In this blog, we’re diving deep (pun totally intended) into the science of clean water and how you can take matters into your own hands with DIY filtration. So, roll up your sleeves because things are about to get refreshingly educational!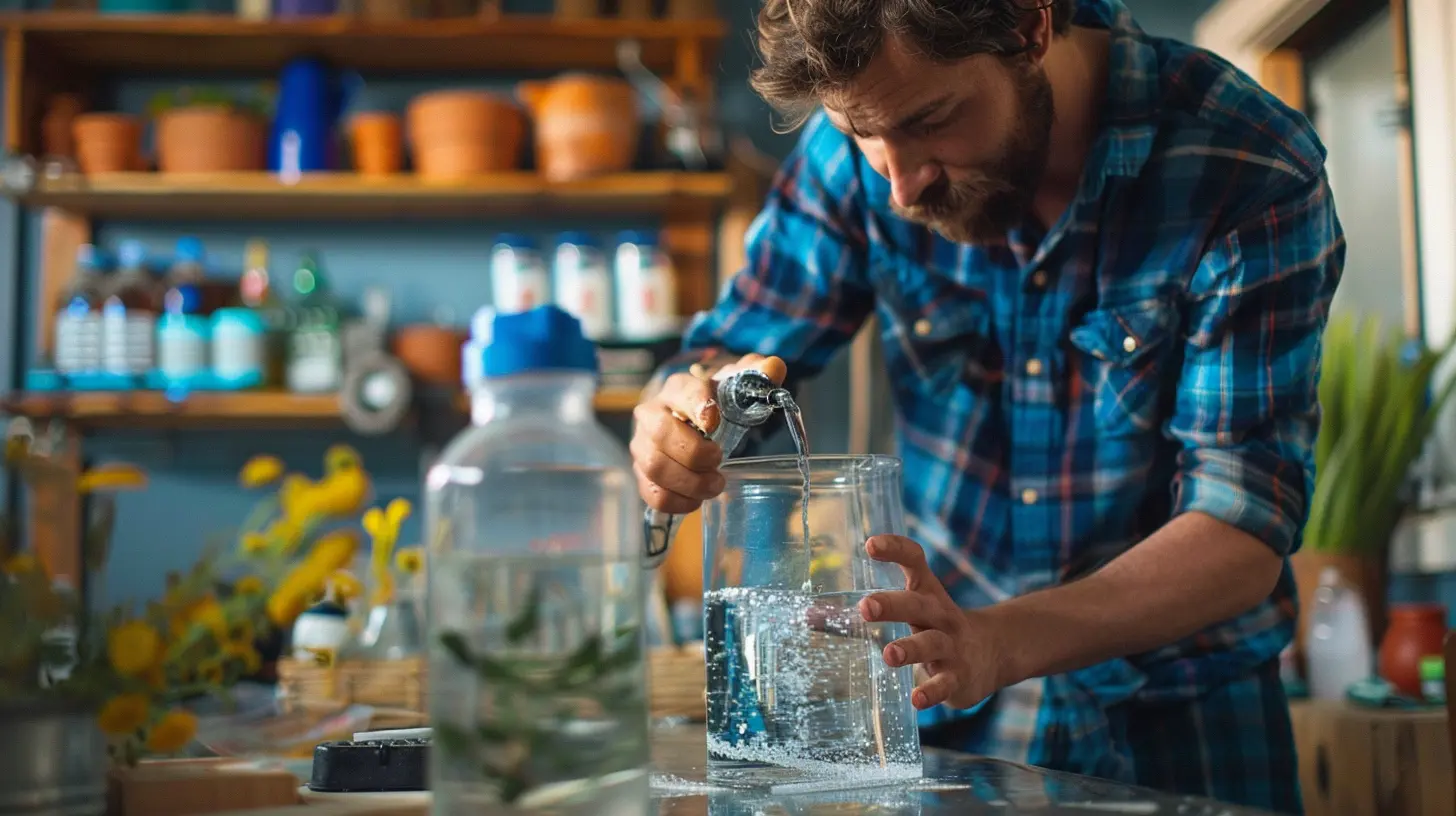
Why Filtering Water Matters
Imagine you're out in nature—surrounded by crisp air, towering trees, and birds singing. You find a beautiful shimmering stream. It looks clean, but would you drink from it?Here’s the hard truth: even the clearest water can be teeming with bacteria, parasites, and pollutants like heavy metals or agricultural runoff. Yikes!
Unfiltered water can carry microscopic pathogens such as Giardia, E. coli, and Cryptosporidium, which can cause serious illnesses. Filtration helps remove these nasties, making water safe and drinkable. It’s like giving water a much-needed spa treatment.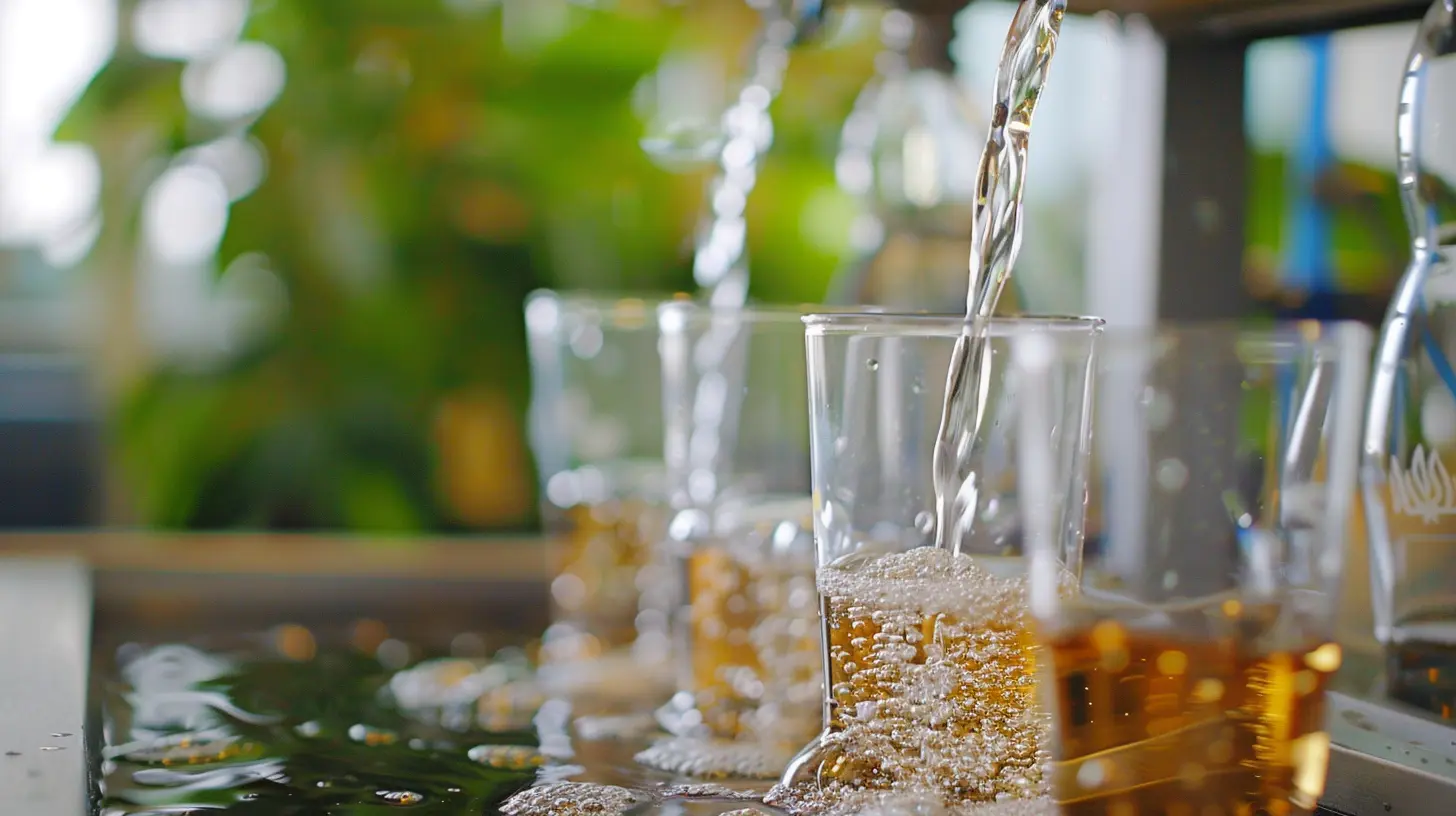
The Basic Science Behind Water Filtration
Filtering water isn’t magic—it’s science. At its core, filtration is all about separating unwanted particles or contaminants from the water we want to drink. This can be done through physical, chemical, or biological means.Let’s break it down simply:
- Physical Filtration: Think of this like a strainer for spaghetti. It removes large particles like dirt, sand, or leaves.
- Chemical Filtration: This involves substances (like activated charcoal) that attract and bind to harmful contaminants at the molecular level—kind of like a magnet attracting iron.
- Biological Filtration: Often used in larger or industrial filters, this uses good bacteria to break down or trap bad ones. Not common in simple DIY setups, but worth mentioning.
Common Contaminants in Untreated Water
Before we jump into building a filter, let’s talk about what we’re trying to get rid of. Understanding the enemy helps us fight smarter.- Sediment: Sand, dirt, and debris that make your water cloudy.
- Microorganisms: Bacteria, viruses, and protozoa—some are harmless; others, not so much.
- Chemicals: Pesticides, fertilizers, and other chemicals often seep into natural water sources.
- Heavy Metals: Lead, mercury, and arsenic can be found in some water sources due to pollution or natural mineral deposits.
Different filters are more effective against different contaminants, so knowing what’s in your water helps you build the right tool for the job.
Materials You’ll Need for a Simple DIY Water Filter
You don’t need a lab or expensive equipment to filter water. In fact, most of what you need is probably lying around your house or backyard.Here’s a basic list of what you’ll need:
- A clean plastic bottle or large funnel
- Scissors or a knife
- Coffee filter or clean cloth
- Sand (fine-grain is best)
- Gravel or small stones
- Activated charcoal (you can buy this online or from pet/aquarium stores)
- Rubber band or string
- Container for collecting filtered water
Optional (but helpful):
- Cotton balls
- Cheesecloth
- A testing kit (for curiosity or accuracy)
How to Build a Basic DIY Water Filter (Step-by-Step)
Alright, let’s get our hands dirty—well, clean actually.Step 1: Cut the Bottle
Take a clean plastic bottle and carefully cut the bottom off using scissors or a knife. Flip it upside down so it looks like a funnel.Step 2: Layer the Filter Materials
Now comes the fun part—layering! Think of it like making a water-cleaning lasagna. From bottom (the narrow mouth) to top:1. Coffee filter or cloth – This goes first to catch the smallest particles. Secure it with a rubber band or string.
2. Activated charcoal – Crush it slightly to increase surface area. This removes chemicals and odors.
3. Fine sand – Helps trap tiny particles.
4. Gravel/small stones – Catches larger debris and helps keep the sand in place.
You can repeat the sand and gravel layers if your bottle is big enough. The more layers, the better the filtration.
Step 3: Pour & Filter
Slowly pour dirty water into the top. Watch as the water passes through each layer, getting cleaner with every drip. Collect the filtered water in a clean container.Heads-up: This method doesn’t remove viruses, and it's not 100% guaranteed to kill bacteria. You’ll still want to boil the filtered water or use purification tablets afterward if you're going to drink it.
Experiment Time: Try Different Materials
Let’s say you don’t have activated charcoal. Don’t panic! DIY is about improvisation. Try substituting with:- Crushed charcoal from a campfire (rinse it first)
- Cotton balls or paper towels for extra filters
- Leaves (boiled first) for organic filtration—though this is experimental
Try building different version filters. Which ones work best? This is the kind of hands-on science that brings classroom concepts to life.
Understanding the Role of Each Layer
Let’s geek out for a second, shall we?- Gravel prevents the upper layers from mixing and deals with larger particles.
- Sand is the real MVP for mechanical filtration. It removes fine particles and improves clarity.
- Charcoal pulls in impurities through adsorption (not absorption—subtle but important). It’s like a sponge for chemicals.
- Cloth or cotton acts like a final checkpoint, catching any stragglers before the water exits.
Each layer works like a bodyguard, standing between you and that murky nightmare of unclean water.
What Filtration Can’t Do (Important!)
As awesome as this homemade filter is, it’s not a magic cure-all. Here’s what it typically doesn't remove:- Viruses – They're tiny, so they often slip through. Boiling water is your best bet here.
- Salt – Sorry, folks. DIY filters can’t desalinate ocean water.
- Certain chemicals – Some industrial pollutants need specialized treatments.
So while it’s a great first line of defense, your DIY filter should be followed by purification methods when drinking from wild sources.
DIY Water Filtration for Emergency Kits
Let’s talk preparedness. Whether it’s a camping trip, power outage, or full-on survival scenario, knowing how to whip up a water filter is a skill that could save lives.Create mini DIY filtration kits with:
- A rolled-up coffee filter
- Small packets of charcoal
- A mini plastic funnel
- Lightweight sand and gravel in resealable bags
- Boiling tablets or iodine drops
It’s compact, cheap, and super useful. Kinda like carrying your own science lab in your backpack.
Teaching Kids the Science (STEM at Home)
DIY water filters aren’t just for adventurers—they’re a perfect project for curious kids too. You get messy fun plus a splash of science. Teach them about:- The water cycle
- States of matter
- Environmental science
- Gravity and pressure
Encourage them to try filtering colored water (like muddy or dyed water) and see the changes. Ask questions: “Why did the sand help more than the gravel?” “What would happen if we skipped the charcoal?”
Learning doesn't get more hands-on than this.
Final Tips and Tricks
- Always rinse natural materials before using them in your filter.- Make sure your collection bottles or containers are clean to avoid contamination.
- Let your filtered water sit a while before boiling to allow sediment to settle.
- Boil water for at least 1 minute (3–5 minutes at higher altitudes) after filtering if you’re going to drink it.
The Bigger Picture: Global Access to Clean Water
Stepping back for a minute, think about this: 1 in 3 people globally don’t have access to clean drinking water. Scary, right?DIY water filtration demonstrates that even with limited resources, we can take steps to improve water safety. It’s not just a fun experiment—it’s a powerful tool for raising awareness and sparking innovation, especially in underserved communities.
By understanding the science and the problem, we’re better equipped to be part of the solution.
Wrapping It Up
So there you have it. DIY water filtration isn’t just science—it’s survival, education, and empowerment all rolled into one. Whether you’re in the kitchen, classroom, or middle of the woods, knowing how to filter water can boost your confidence and safety.Next time you look at a puddle, river, or cloudy glass of water, you won’t just see “dirty water.” You’ll see a challenge. One that you now know exactly how to tackle.
So, ready to get filtering?
all images in this post were generated using AI tools
Category:
Science ExperimentsAuthor:

Bethany Hudson
Discussion
rate this article
2 comments
Fable Pace
This article wonderfully highlights the importance of clean water and the science behind DIY filtration. It’s a fantastic resource for promoting sustainability and environmental awareness!
April 13, 2026 at 11:28 AM
Bethany Hudson
Thank you for your kind words! I'm glad you found the article helpful in promoting sustainability and awareness about clean water.
Thalia Harmon
Who knew turning dirty water into clean could be this fun?!
July 29, 2025 at 2:46 AM
Bethany Hudson
I'm glad you enjoyed it! Making clean water can be both fun and educational. Happy experimenting!