Earthquake Simulation: How to Build a Model to Study Tectonic Plates
1 July 2025
Ever wondered how scientists predict earthquakes? Or why some places on Earth shake more than others? Well, it's all about tectonic plates—massive slabs of Earth's crust that move and interact. To understand these movements better, we can build a simple earthquake simulation model. Sounds exciting, right? Let’s dive in and learn how you can create one yourself! 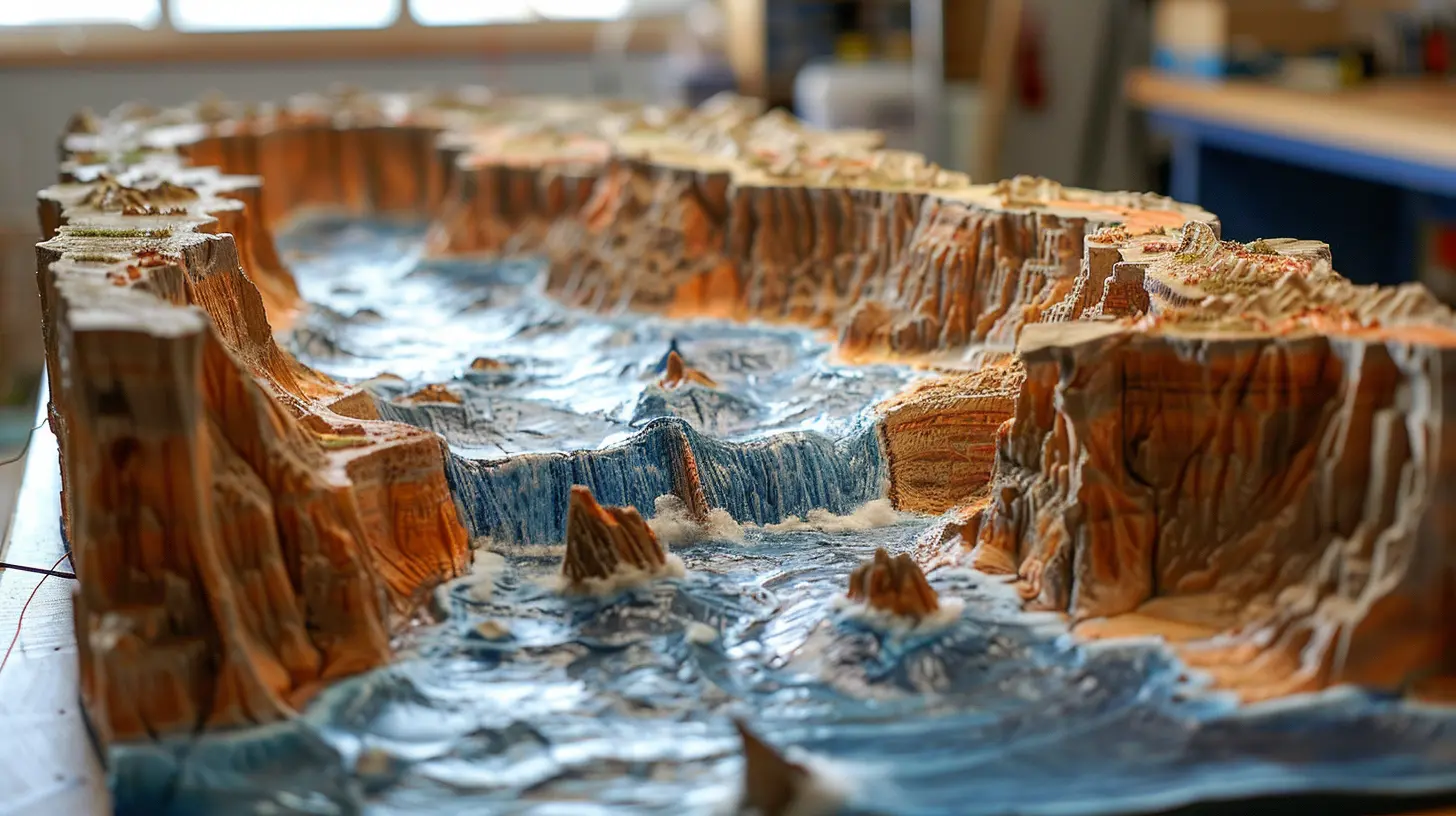
🔬 Understanding Earthquakes and Tectonic Plates
Before we get our hands dirty, let’s break down the basics.🌍 What Are Tectonic Plates?
Imagine Earth's surface as a giant jigsaw puzzle. These pieces? They’re called tectonic plates. They float on the semi-fluid mantle beneath them and are constantly on the move—though at an incredibly slow pace. Their movement is driven by heat from the Earth's core.⚡ What Causes Earthquakes?
Earthquakes happen when these plates collide, slide against each other, or move apart. The energy buildup from these interactions is suddenly released, causing the ground to shake. This is why areas near fault lines (where two plates meet) experience more frequent and intense earthquakes.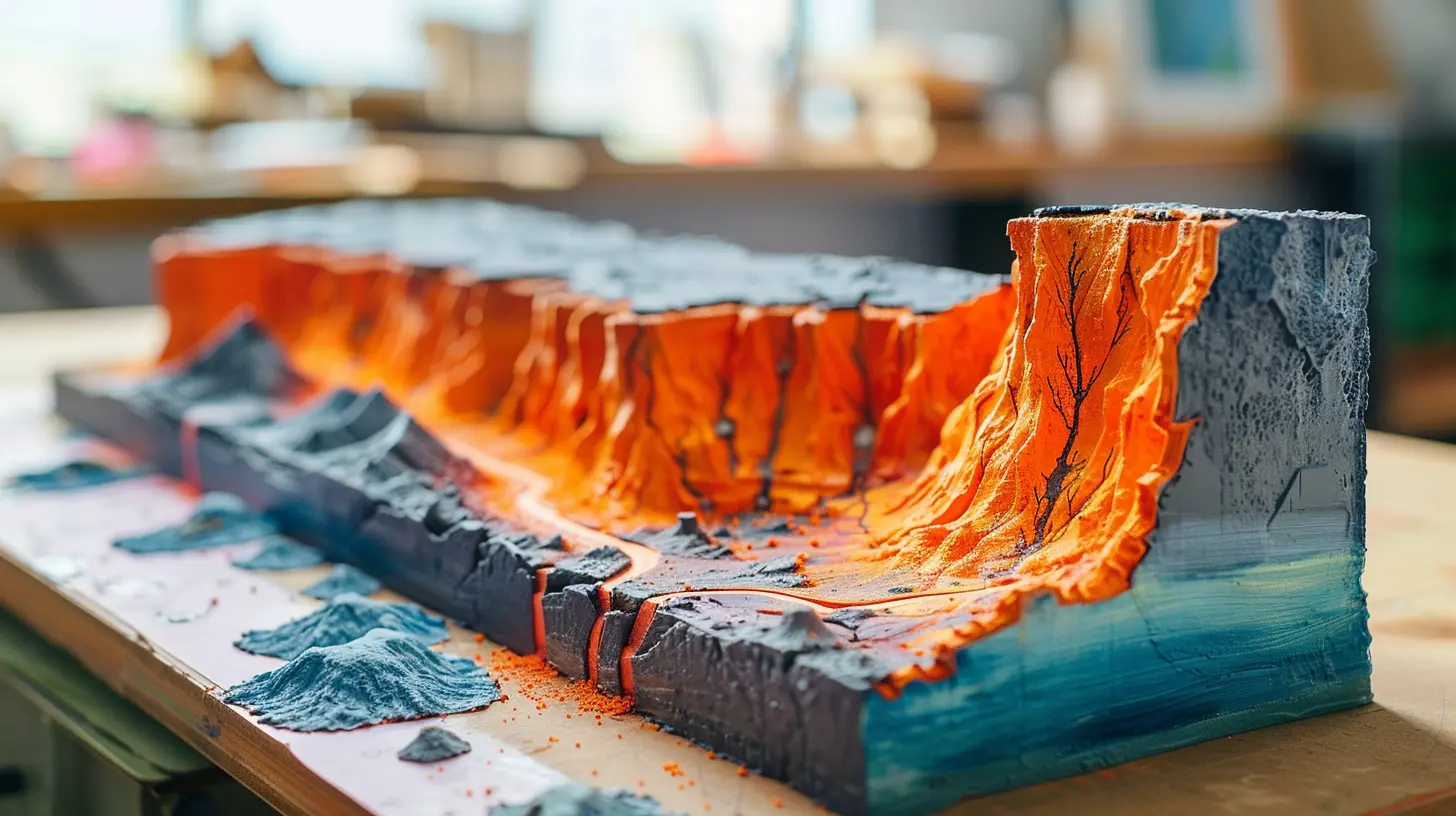
🛠️ Building Your Own Earthquake Simulation Model
Now, let’s get to the fun part—building a hands-on earthquake model! This activity will give you a better understanding of tectonic movements and their impact.📝 Materials You'll Need
To create your earthquake simulation, gather these materials:- A rectangular wooden board or sturdy cardboard (serves as the Earth's crust)
- Sandpaper (represents rough tectonic boundaries)
- Rubber bands or elastic bands (to simulate tension buildup)
- Foam blocks or sponges (represent tectonic plates)
- A ruler and a marker (for measurements and markings)
- A small weight or book (to apply force)
- Glue or tape (for securing components)
🔧 Step-by-Step Guide
Step 1: Base Setup
Attach a sheet of sandpaper on top of the wooden board using glue or tape. This rough surface mimics the friction between tectonic plates.Step 2: Creating Tectonic Plates
Cut the foam blocks into two large pieces and place them side by side on the sandpaper. These will act as the tectonic plates. You can even label them "Plate A" and "Plate B" for better visualization.Step 3: Adding Elastic Tension
Wrap rubber bands around the foam blocks, pulling them in opposite directions. This represents the stress that builds up between real tectonic plates over time.Step 4: Simulating an Earthquake
Now, slowly apply force by pushing one foam block forward while holding the other in place. Keep increasing the pressure. Eventually, the tension will be too much, and the foam block will snap forward. That sudden movement? It mirrors how earthquakes occur in real life when stress is released along a fault line.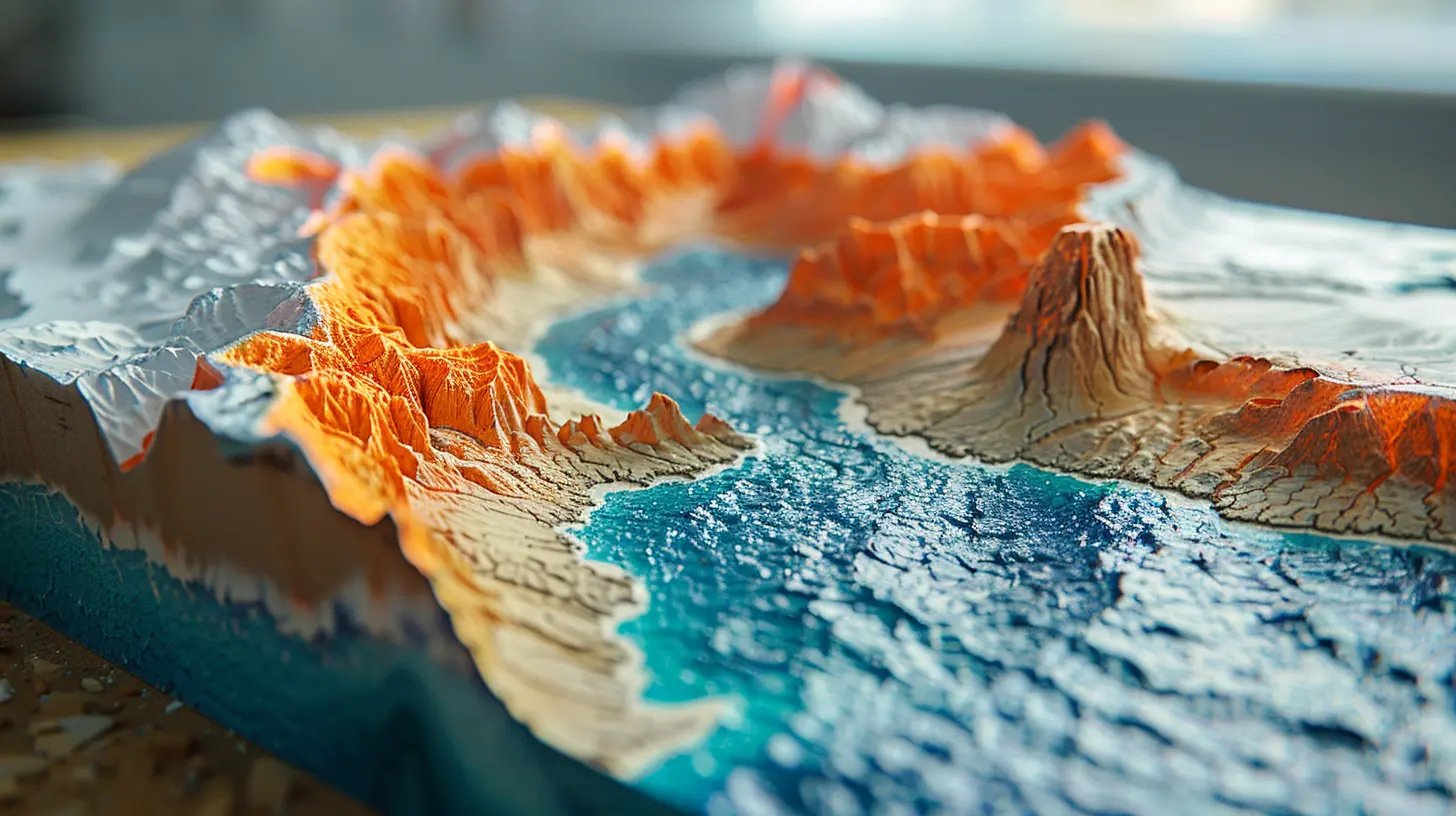
🌪️ Observations and Explanation
As you test your model, notice how the foam blocks resist movement at first but suddenly shift when the force becomes too great. This is exactly how tectonic plates behave!- Slow Buildup, Sudden Release – Just like in nature, stress accumulates over time until the breaking point is reached.
- Different Boundaries, Different Effects – Try positioning the foam blocks in different ways. Moving them against each other mimics a transform boundary (like California’s San Andreas Fault). Pushing them together represents a convergent boundary, whereas pulling them apart simulates a divergent boundary. 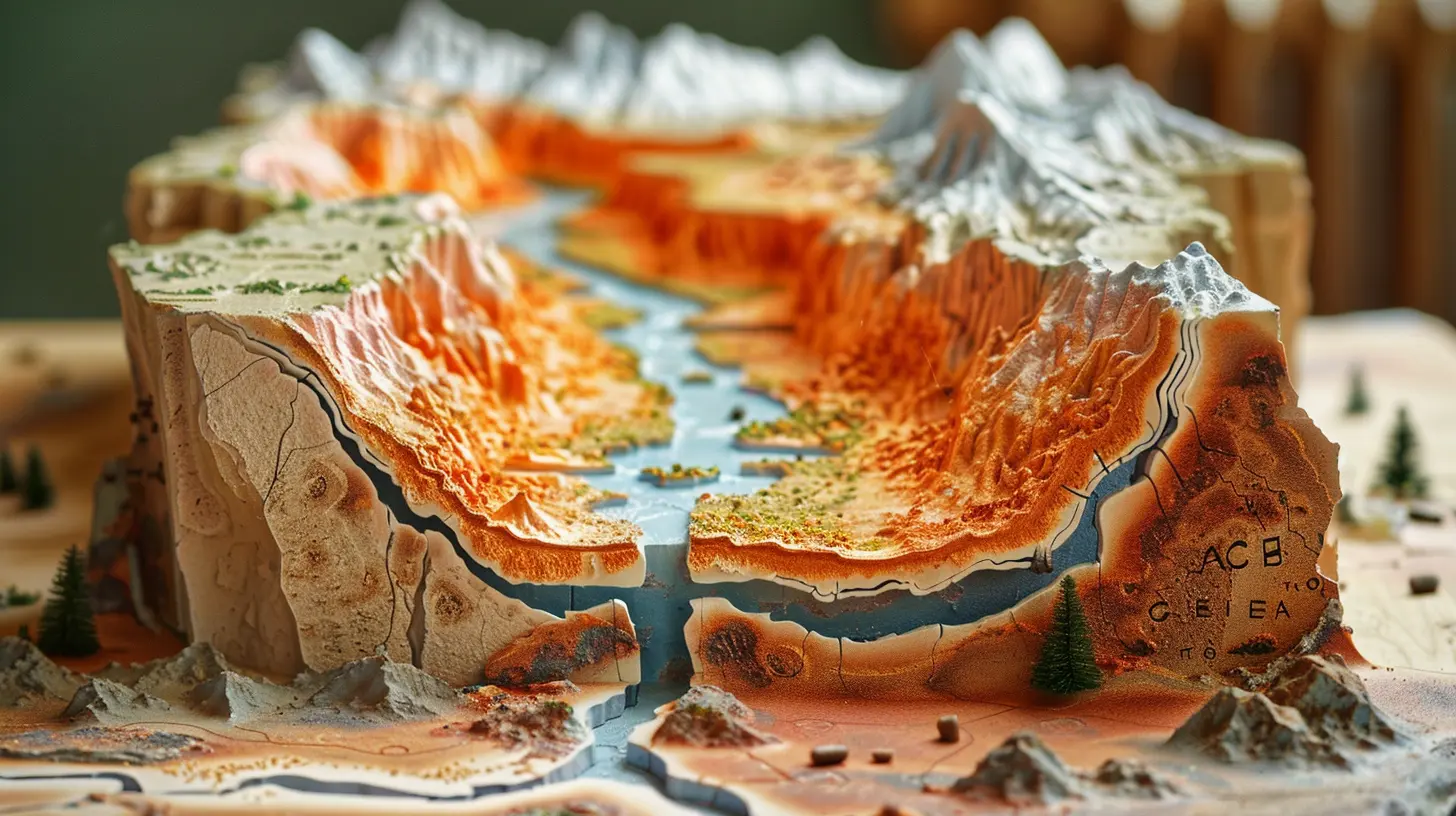
🌍 How This Model Helps Us Understand Earthquakes
Scientists use more advanced versions of this concept to predict seismic activity. By studying these movements, they can:- Identify earthquake-prone regions
- Assess building safety standards
- Develop early warning systems
Even though our model is simple, the same principles apply at a much larger scale!
🔬 Enhancing Your Model
Want to take it up a notch? Try these modifications:1. Use a Rigid Base
A firmer board improves stability and makes movements more realistic.2. Add a Seismograph Simulation
Place a pen on a sheet of paper and let it move as the foam blocks shift. This mimics what seismographs do—recording earthquake waves!3. Experiment with Different Materials
Using materials with varying textures (like smoother or rougher sandpaper) can change the level of resistance, showing how different fault lines behave.🏗️ Real-World Applications of Earthquake Simulation
Earthquake models aren’t just classroom experiments. Engineers and scientists rely on similar setups to:- Design earthquake-resistant buildings
- Improve seismic monitoring systems
- Educate communities on disaster preparedness
Real-world earthquake simulations even involve large-scale shake tables where entire buildings are tested for stability!
🔥 Final Thoughts
Understanding earthquakes isn't just about memorizing facts—it's about seeing science in action. Building a hands-on earthquake model is a fantastic way to visualize plate movement, stress buildup, and seismic activity. Plus, it's a great science project to impress your friends, teachers, or even yourself!So, are you ready to shake things up? Grab your materials and start experimenting! Who knows? You might just develop the next big breakthrough in earthquake science.
all images in this post were generated using AI tools
Category:
Science ExperimentsAuthor:

Bethany Hudson
Discussion
rate this article
2 comments
Wendy Gutierrez
Great article! Building a model sounds like a fun way to learn about tectonic plates. Can't wait to try it!
April 7, 2026 at 10:34 AM
Bethany Hudson
Thank you! I'm glad you found it interesting. Enjoy building your model!
Kaitlin Carr
Shake it up, science style!
July 16, 2025 at 11:54 AM
Bethany Hudson
Absolutely! Let’s explore tectonic movements and see how they shake things up!