Harnessing Solar Energy: Build a Simple Solar-Powered Device
23 May 2025
Hey there! Have you ever looked up at the sun and thought, "Wow, that’s a lot of energy just hanging around up there"? Well, you're right! The sun is an incredible, limitless source of power. And the best part? You can tap into it with a bit of creativity and some basic materials. In this article, we’re going to walk through the process of harnessing solar energy to build a simple solar-powered device. Even if you’re a beginner, don’t worry—this guide will break everything down in easy-to-understand steps, and by the end, you'll have a functional solar-powered gadget in your hands.
Why Solar Energy?
Before we dive into the nitty-gritty, let’s talk about why solar energy is such a big deal. First off, it’s free. Yep, the sun doesn’t send you a bill at the end of the month, which means once you’ve got your solar device up and running, you’re essentially getting free energy.Secondly, it's environmentally friendly. Solar power doesn’t produce any harmful emissions, and by using it, you’re helping reduce your carbon footprint. So, not only are you saving money, but you’re also saving the planet. Win-win, right?
And lastly, solar energy is super accessible. Unlike fossil fuels that need to be mined or extracted, the sun's rays are available pretty much anywhere. All you need is a sunny day (and believe me, those come around more often than we think!).
The Basics of Solar Power
Before you start building anything, it’s important to understand a few basics about solar energy. Don’t worry, I’m not going to throw a bunch of complicated jargon at you. Let’s keep it simple.How Solar Panels Work
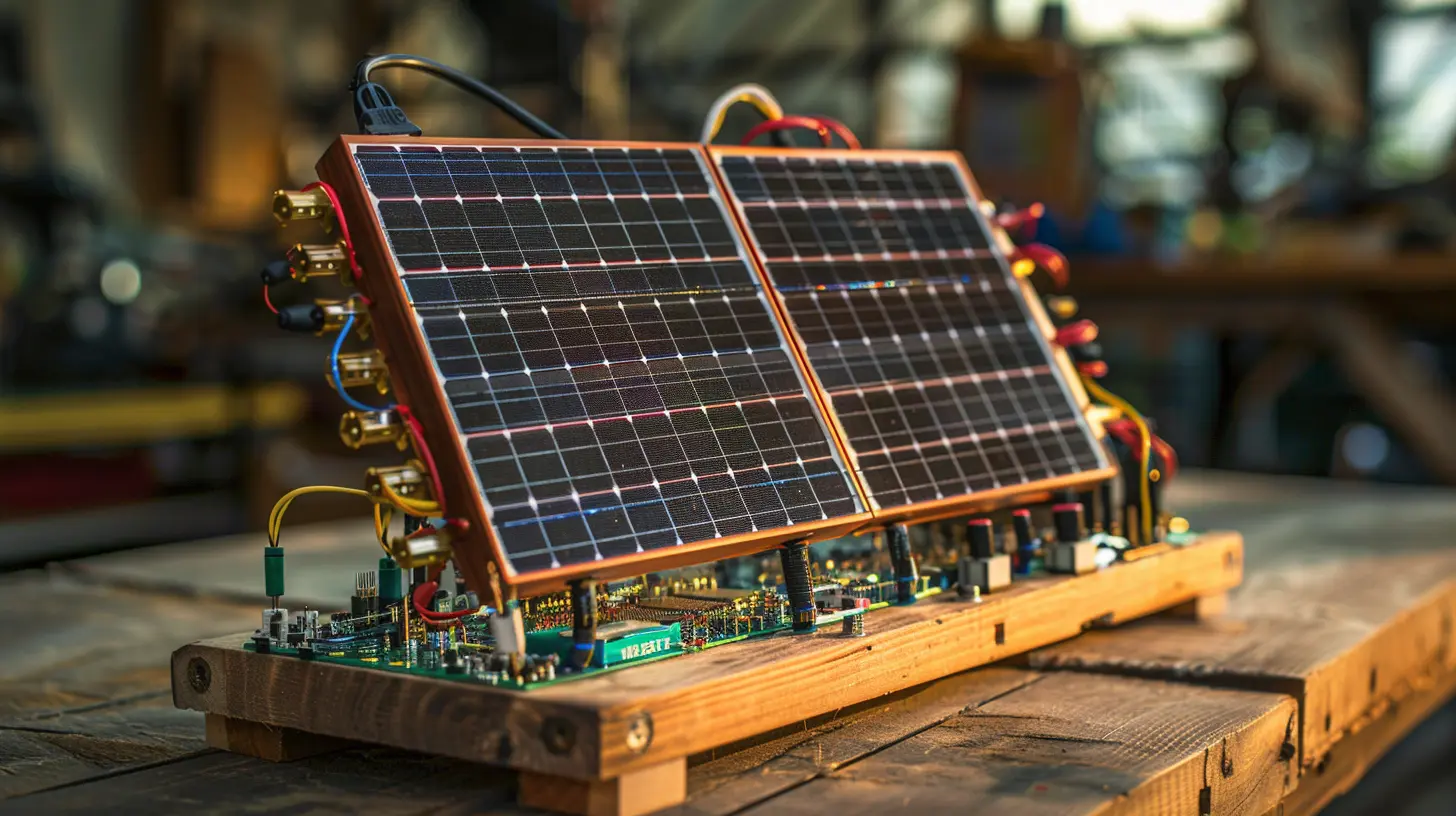
The core component of any solar-powered device is a solar panel. Solar panels are made up of photovoltaic (PV) cells, which are designed to convert sunlight into electricity. These PV cells are usually made from silicon, and when sunlight hits them, it knocks electrons loose. The movement of these electrons creates an electric current, which can be used to power devices.Think of solar panels like a sponge soaking up energy from the sun. The more sunlight your panel gets, the more power it can generate.
Storing Solar Energy
One important thing to remember is that the sun doesn’t shine 24/7 (unless you live on some distant planet!). So, if you want your solar-powered device to work at night or on cloudy days, you’ll need a way to store the energy. This is where batteries come in. By storing excess energy in a battery, your device can keep running even when the sun isn’t shining.Now that we’ve got the basics down, let’s roll up our sleeves and get to the fun part: building your solar-powered device.
Step-by-Step Guide to Building a Simple Solar-Powered Device
In this project, we’ll be making a small solar-powered fan. It’s a simple, beginner-friendly device that will help you understand how solar energy can be harnessed to power everyday objects.Materials You’ll Need
- Small Solar Panel (5V or 6V is ideal for this project)- DC Motor (A small hobby motor will work perfectly)
- Propeller (You can purchase a small propeller online or from a hobby store)
- Wires (To connect the solar panel to the motor)
- Soldering Iron and Solder (Optional, but recommended for secure connections)
- Double-Sided Tape or Hot Glue (To attach components)
- Small Battery (Optional) (If you want to store energy for use when sunlight isn’t available)
You can easily find these materials at an electronics store or online. If you’re on a tight budget, you can even salvage some of these components from old electronic devices, like toys or gadgets.
Step 1: Connecting the Solar Panel to the Motor
The first step in building your solar-powered fan is connecting the solar panel to the motor. This is the heart of your device, where sunlight gets transformed into mechanical energy.1. Check the Solar Panel’s Output: Your solar panel will have two wires, usually red (positive) and black (negative). These are the output wires that carry the electricity generated by the panel.
2. Connect the Wires to the Motor: Connect the red wire from the solar panel to the positive terminal of the motor, and the black wire to the negative terminal. If you’re using a soldering iron, now’s the time to securely attach the wires to the motor’s terminals. If you don’t have a soldering iron, you can simply twist the wires together, but keep in mind that the connection may not be as durable.
3. Test the Connection: Place the solar panel in direct sunlight. If everything is connected properly, the motor should start spinning as soon as it’s exposed to sunlight.
Step 2: Attaching the Propeller
Now that you have your motor spinning, it’s time to attach the propeller. This is what will actually create the “fan” effect.1. Mount the Propeller: Slide the propeller onto the shaft of the motor. You may need to use a bit of glue or tape to secure it in place if it doesn’t fit snugly.
2. Test Again: Place the solar panel in sunlight to ensure the propeller spins once the motor is active. If it does, congrats—your solar-powered device is halfway done!
Step 3: Securing the Components
You want to make sure your device is stable and functional for daily use. Here’s how to secure everything into one neat package:1. Mount the Solar Panel: Use double-sided tape or hot glue to attach the solar panel to a stable surface. This could be a piece of cardboard, plastic, or even the top of a small box. Make sure the solar panel is positioned in a way that it can easily catch sunlight.
2. Secure the Motor and Propeller: Attach the motor to the same base as the solar panel, making sure the propeller has enough space to spin freely without hitting anything.
3. Optional—Add a Battery: If you want your fan to work even when the sun isn’t shining, you can add a small rechargeable battery to store excess energy. You’ll need a diode to prevent the current from flowing back into the panel, and a charge controller to manage the charging process. This step is a bit more advanced, but it’s a great way to make your device more versatile.
Step 4: Enjoy Your Solar-Powered Fan!
You’ve done it! You’ve successfully built a simple solar-powered device. Now, place your fan in a sunny spot and enjoy the cool breeze as the propeller spins, powered entirely by the sun.
Tips for Optimizing Your Solar Device
Now that your fan is up and running, let’s talk about a few tips to get the most out of your solar-powered device.1. Maximize Sunlight Exposure
The more sunlight your panel receives, the better it will perform. Try placing it in a south-facing window or outside where it gets direct sunlight for most of the day. If possible, tilt the panel at an angle to maximize its exposure to the sun.2. Use Efficient Components
Not all motors and propellers are created equal. If your fan isn’t spinning as fast as you’d like, consider upgrading to a more efficient motor or a lighter propeller. This can help increase the overall efficiency of your device.3. Experiment with Different Devices
Once you’ve mastered the solar-powered fan, why stop there? You can use the same basic setup to power other small devices, like a light or a phone charger. The possibilities are endless!The Future of Solar Power
Building a solar-powered device is more than just a fun DIY project—it’s also a glimpse into the future of energy. As solar technology becomes more advanced and affordable, we’ll likely see more and more of our everyday devices powered by the sun.And you don’t have to stop at small gadgets. With the right materials and know-how, you can build everything from solar-powered water heaters to entire off-grid solar systems. The sky (or rather, the sun) is the limit!
Final Thoughts
Harnessing solar energy is easier than it sounds, and building a simple solar-powered device is a great way to dip your toes into the world of renewable energy. Plus, it’s a fantastic hands-on project for anyone interested in science, technology, or the environment.So, what are you waiting for? Gather your materials, find a sunny spot, and start building your own solar-powered gadgets today. Who knows? You might just discover a new hobby or even spark an interest in a career in renewable energy.
all images in this post were generated using AI tools
Category:
Science ExperimentsAuthor:

Bethany Hudson
Discussion
rate this article
3 comments
Erica Mullen
This article effectively simplifies solar energy concepts, empowering readers to create their own sustainable devices with practical guidance. Excellent resource!
June 6, 2025 at 4:08 AM
Bethany Hudson
Thank you! I'm glad you found the article helpful and empowering for creating sustainable devices.
Calyx Ramos
Harnessing solar energy is not just a step towards sustainability; it's a leap into innovation! By building a simple solar-powered device, you’re not just creating technology—you’re igniting curiosity and empowering yourself to make a difference. Embrace the sun’s potential and illuminate the path to a greener future!
May 31, 2025 at 4:05 AM
Bethany Hudson
Thank you! Embracing solar energy truly empowers innovation and paves the way for a sustainable future. Let’s continue to ignite curiosity and make a difference!
Asher Sharpe
This article sparks my curiosity! Exploring how simple solar-powered devices can be created not only highlights innovative energy solutions but also encourages hands-on learning. I can’t wait to try building my own—what other projects could be inspired by this?
May 26, 2025 at 2:56 AM
Bethany Hudson
I'm glad to hear you're inspired! Other projects could include solar phone chargers, solar water heaters, or even DIY solar ovens. Happy building!