How to Create a Model of the Solar System at Home
8 November 2025
Have you ever looked up at the night sky and wondered about our vast solar system? If you're curious about the planets and their arrangement, why not bring the cosmos into your home by building your own solar system model? It's a fun, engaging, and educational DIY project that helps you understand the placement and scale of the planets while flexing your creative muscles!
Let’s dive into this step-by-step guide to creating an amazing solar system model at home. 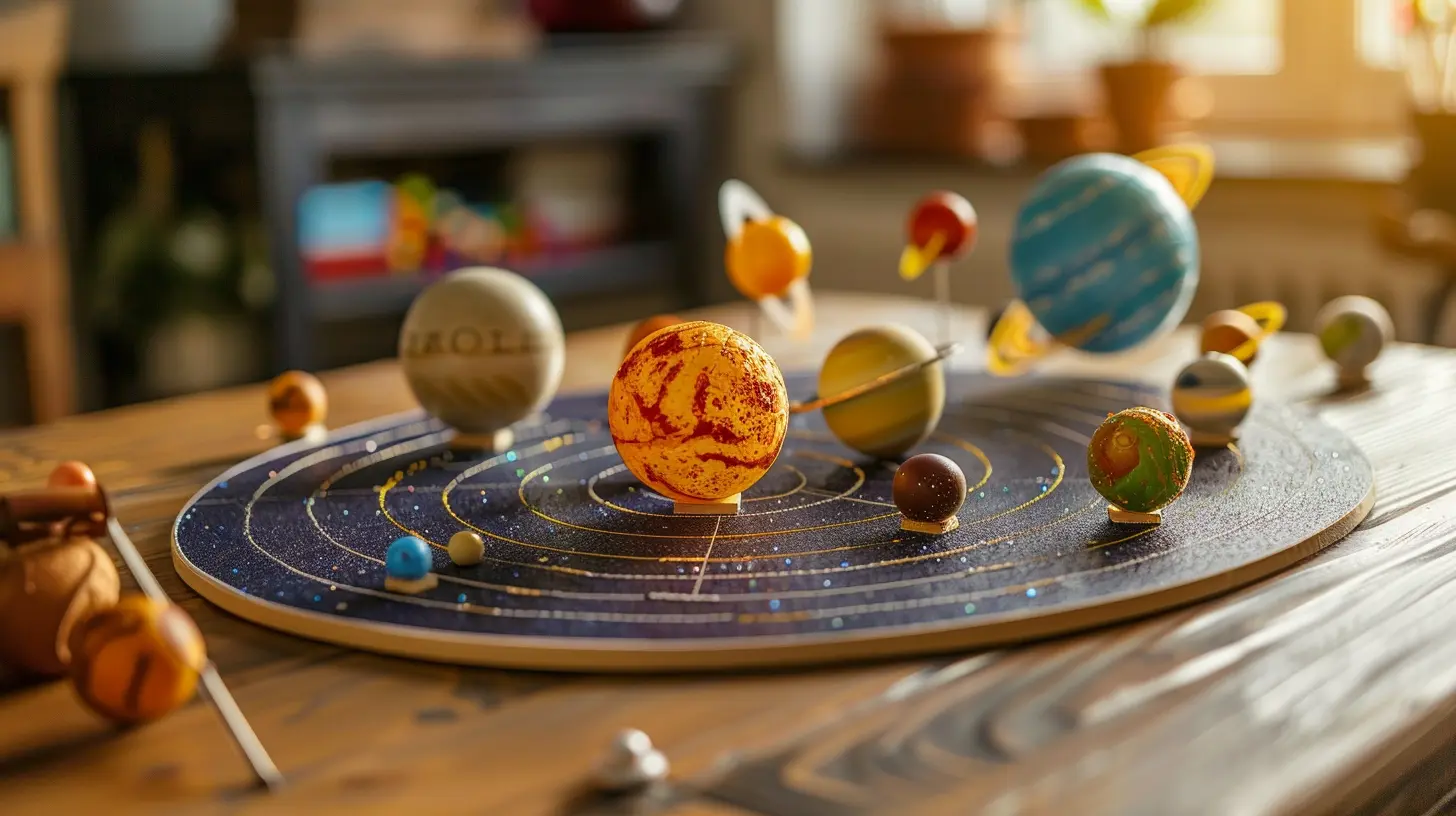
Why Build a Solar System Model?
Before we start crafting, let’s talk about why this project is worth your time.1. Hands-on Learning – It gives you a tangible way to understand the positioning of planets and their orbits.
2. Boosts Creativity – You get to paint, glue, and use different materials to make your model unique.
3. Fun for All Ages – Whether you're a student, teacher, or just a space enthusiast, this project is exciting for everyone.
4. Great for School Projects – If you have a science project coming up, this is a perfect choice! 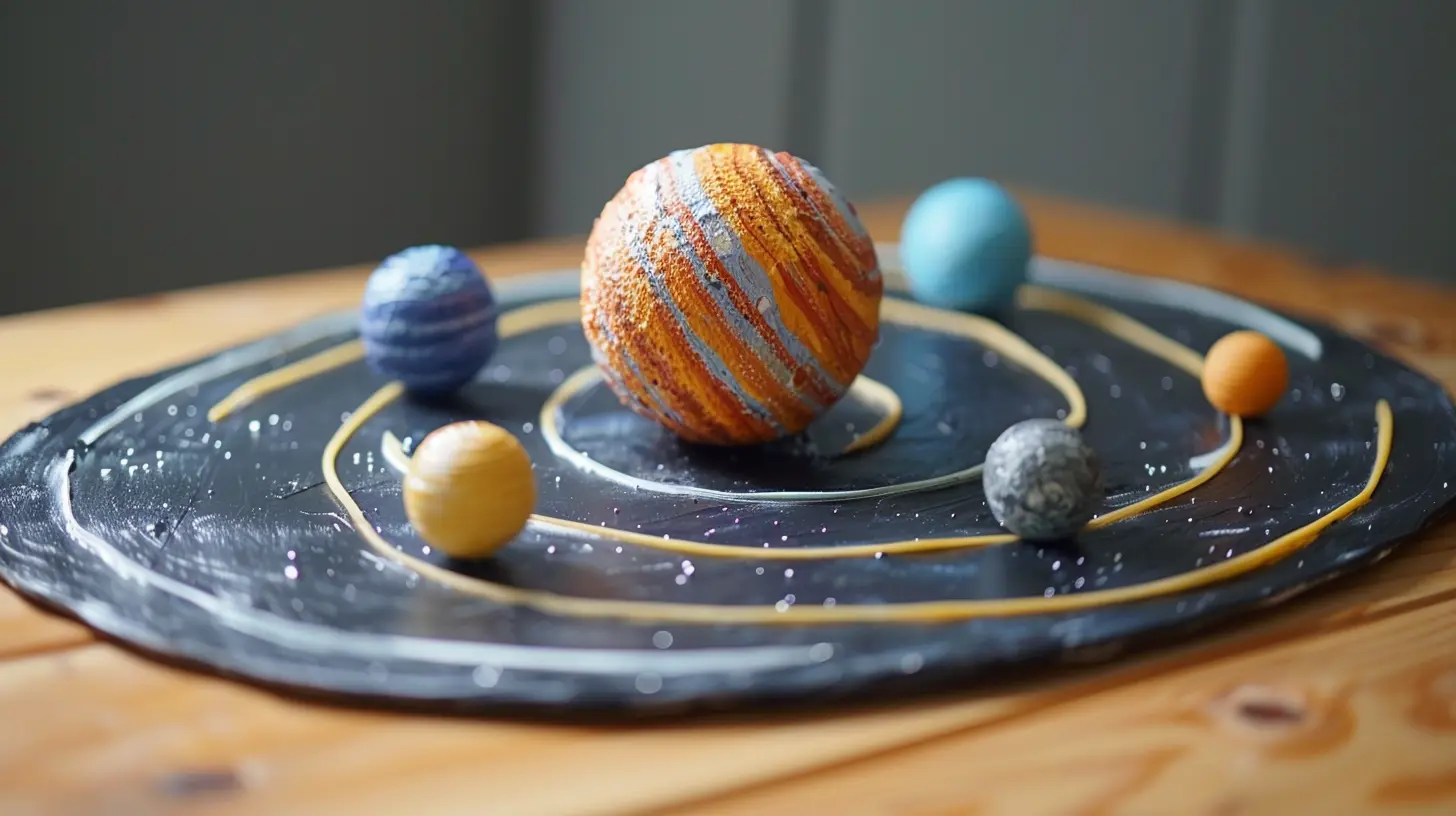
Materials You’ll Need
To make your model, gather these materials first:- Styrofoam or wooden balls (various sizes for the planets)
- Acrylic or poster paints
- Paintbrushes
- A large piece of cardboard or a foam board (for display)
- Wooden skewers or strings (to attach the planets)
- Glue or a hot glue gun
- A black marker
- Labels or small paper strips for planet names 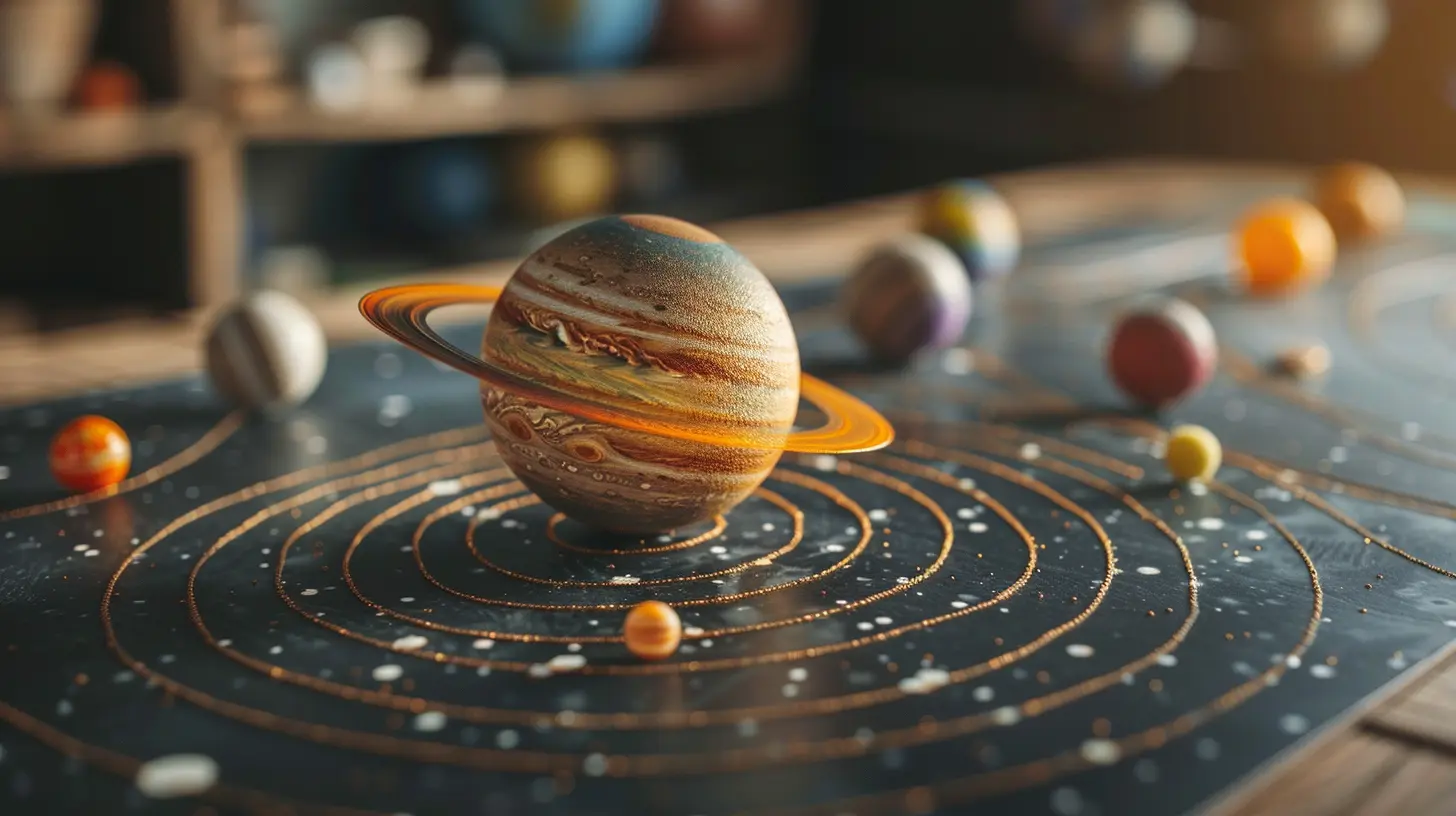
Step-by-Step Guide to Making Your Solar System Model
Now that you have all the materials, let's start crafting!Step 1: Plan Your Model
Before jumping in with paint and glue, sketch a rough design. Think about:- The order of planets from the Sun
- How much space they need on your board
- Whether you want to hang them or fix them in place
This step helps avoid mistakes later!
Step 2: Prepare the Planets
Each planet in the solar system varies in size, so pick the appropriate sized balls for each:- Sun – The biggest ball
- Mercury – The smallest ball
- Venus – A bit smaller than Earth
- Earth – Mid-sized
- Mars – Slightly smaller than Earth
- Jupiter – The largest of all planets
- Saturn – Slightly smaller than Jupiter (don't forget the rings!)
- Uranus – Smaller than Saturn but still big
- Neptune – Close in size to Uranus
Use a knife or sandpaper to reshape any balls if needed.
Step 3: Paint the Sun and Planets
Now comes the fun part—painting!- Sun – Bright yellow and orange swirls
- Mercury – Grey and cratered
- Venus – Yellowish with some white clouds
- Earth – Blue with green and white patches
- Mars – Reddish with dark patches
- Jupiter – Orange-brown with white bands (add a red dot for its storm!)
- Saturn – Light yellow with rings made from paper or thin plastic
- Uranus – Light blue-green
- Neptune – Dark blue
Let the paint dry before moving to the next step.
Step 4: Attach the Planets
Now, decide how you want to display your planets:Option 1: Fixed Display on a Board
- Arrange the planets in order on a cardboard or foam board.- Use glue to attach them.
- Draw orbit circles for accuracy.
Option 2: Hanging Solar System
- Attach string to each planet using glue or by poking a small hole.- Hang them from a rod or ceiling in their correct order.
Step 5: Add Details and Labels
To make your model more informative, add:- Planet Names: Write the names on small paper strips and glue them underneath each planet.
- Rings for Saturn: Cut out a thin plastic or paper ring and glue it around Saturn.
- Asteroid Belt: Use tiny beads or grains to represent the asteroid belt between Mars and Jupiter. 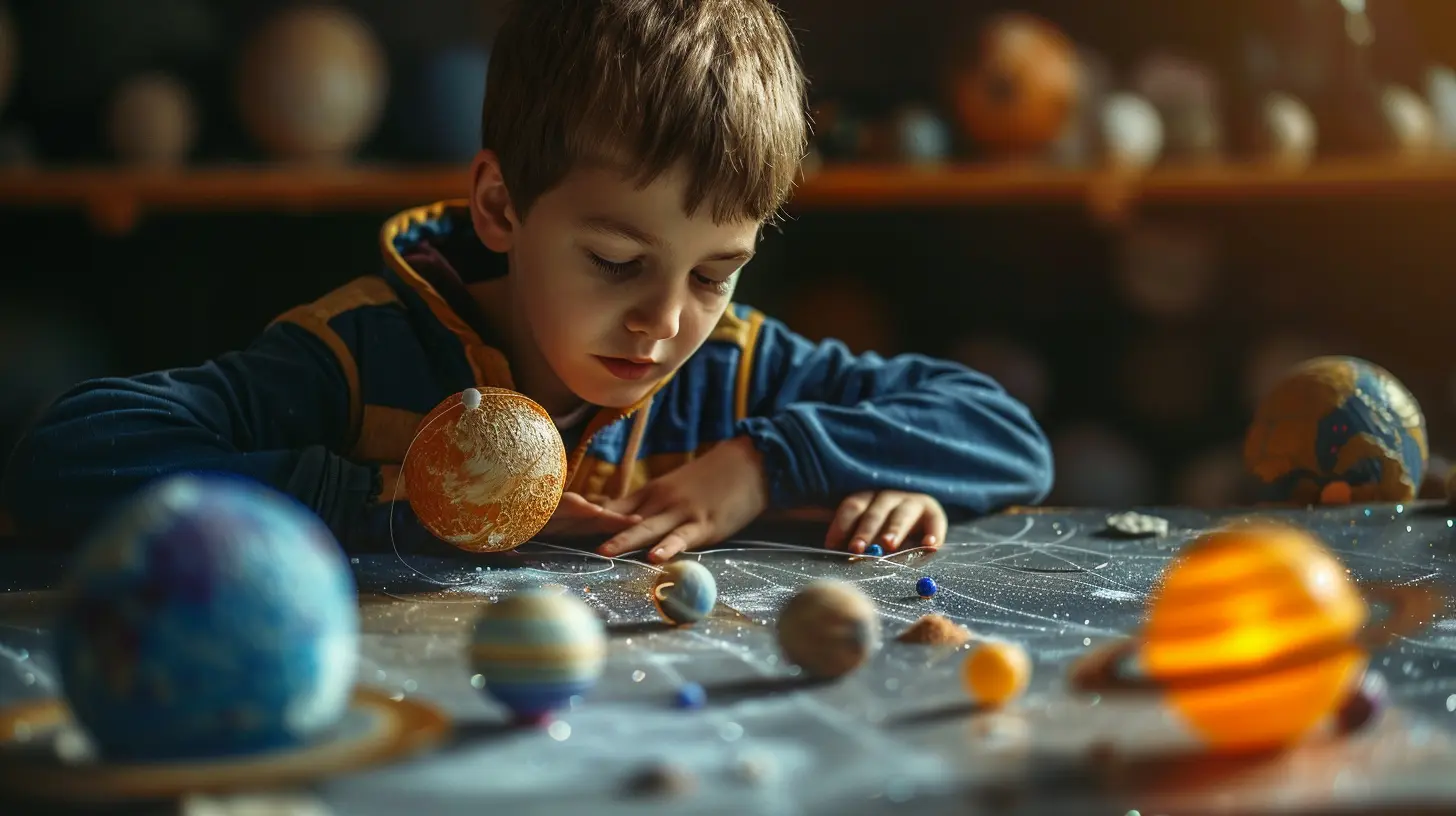
Tips for an Awesome Solar System Model
- Use Glow-in-the-Dark Paint – Make your model shine in the dark for a cool effect!- Add Moons – If you want to go the extra mile, create little moons for planets like Earth and Jupiter.
- Experiment with Materials – Use clay, paper mache, or even balloons if you want a different look.
Fun Facts About the Solar System
- Jupiter is so massive that it could fit all the other planets inside it!- Venus is hotter than Mercury even though Mercury is closer to the Sun.
- A day on Uranus lasts 17 hours, and it spins on its side!
- Saturn’s rings are made mostly of ice and dust.
Final Thoughts
Building a model of the solar system at home is a fantastic way to learn while having fun. Whether you're making it for a school project or just out of curiosity, this DIY craft will deepen your appreciation for space. So, grab your paints, glue, and imagination, and bring the universe into your room!Have you built a solar system model before? What materials did you use? Share your experience in the comments!
all images in this post were generated using AI tools
Category:
Science ExperimentsAuthor:

Bethany Hudson
Discussion
rate this article
1 comments
Naya Bryant
Building a solar system model at home invites us to reflect on our place in the cosmos and the interconnectedness of all existence.
November 12, 2025 at 3:28 AM
Bethany Hudson
Absolutely! Creating a solar system model not only enhances our understanding of space but also deepens our appreciation for our connection to the universe.