How to Make a Lava Lamp and Learn About Liquid Density
3 January 2026
Ever stared at a lava lamp and wondered how those mesmerizing blobs float up and down? Making a DIY lava lamp is not only a fun experiment but also a cool way to understand liquid density. Whether you’re a curious student or just looking for a creative project, this guide will walk you through the process step by step.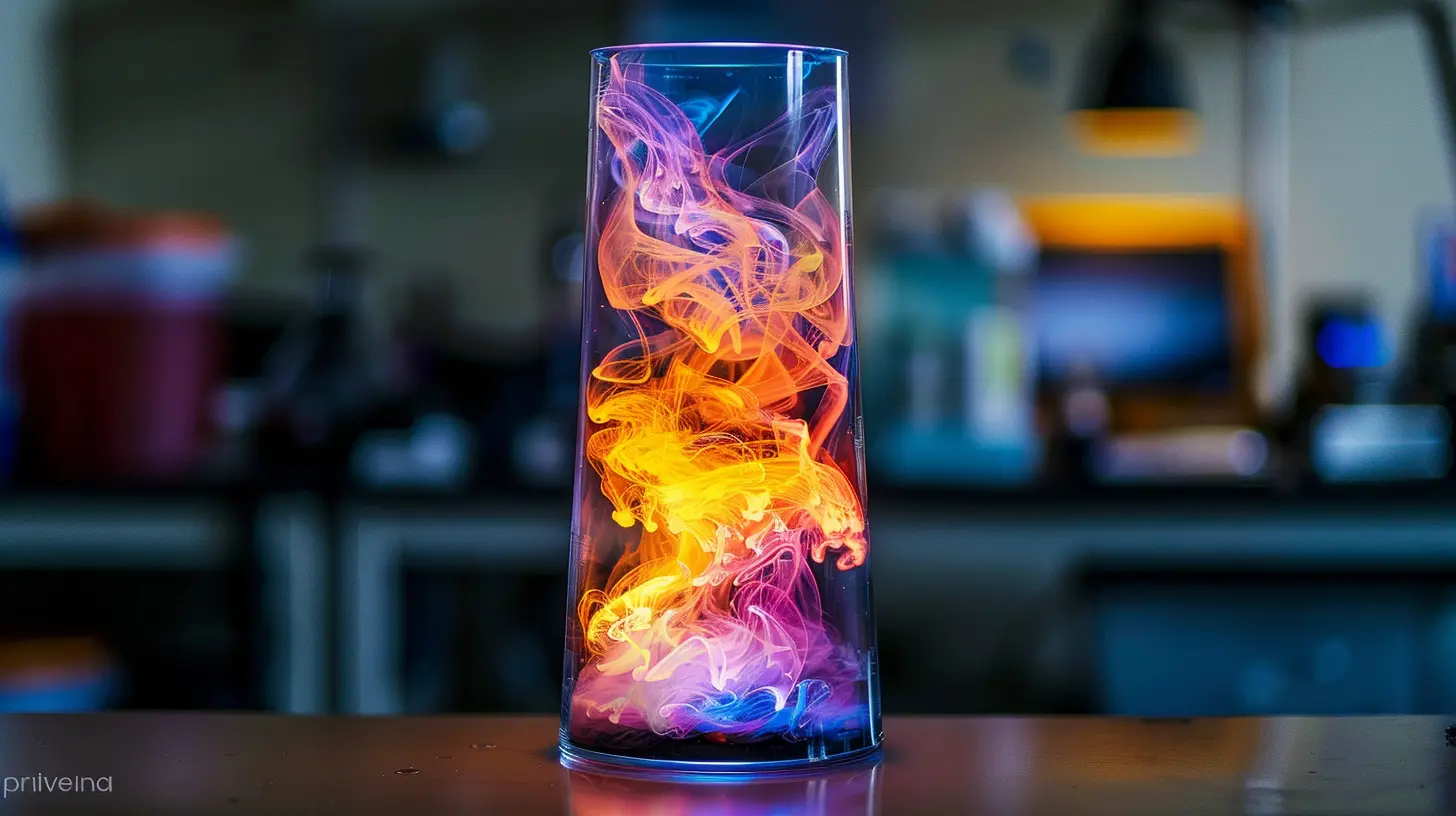
What is Liquid Density?
Before diving into making our lava lamp, let’s first understand the science behind it.Density refers to how much mass is packed into a certain volume. Imagine a bottle filled with oil and water. Oil stays on top—why? Because oil is less dense than water. The heavier liquid (water) sinks, while the lighter one (oil) floats.
When we add another element, like a fizzy tablet, it creates bubbles that carry the water upwards, only to fall back down when the gas escapes. This is exactly how a lava lamp works! 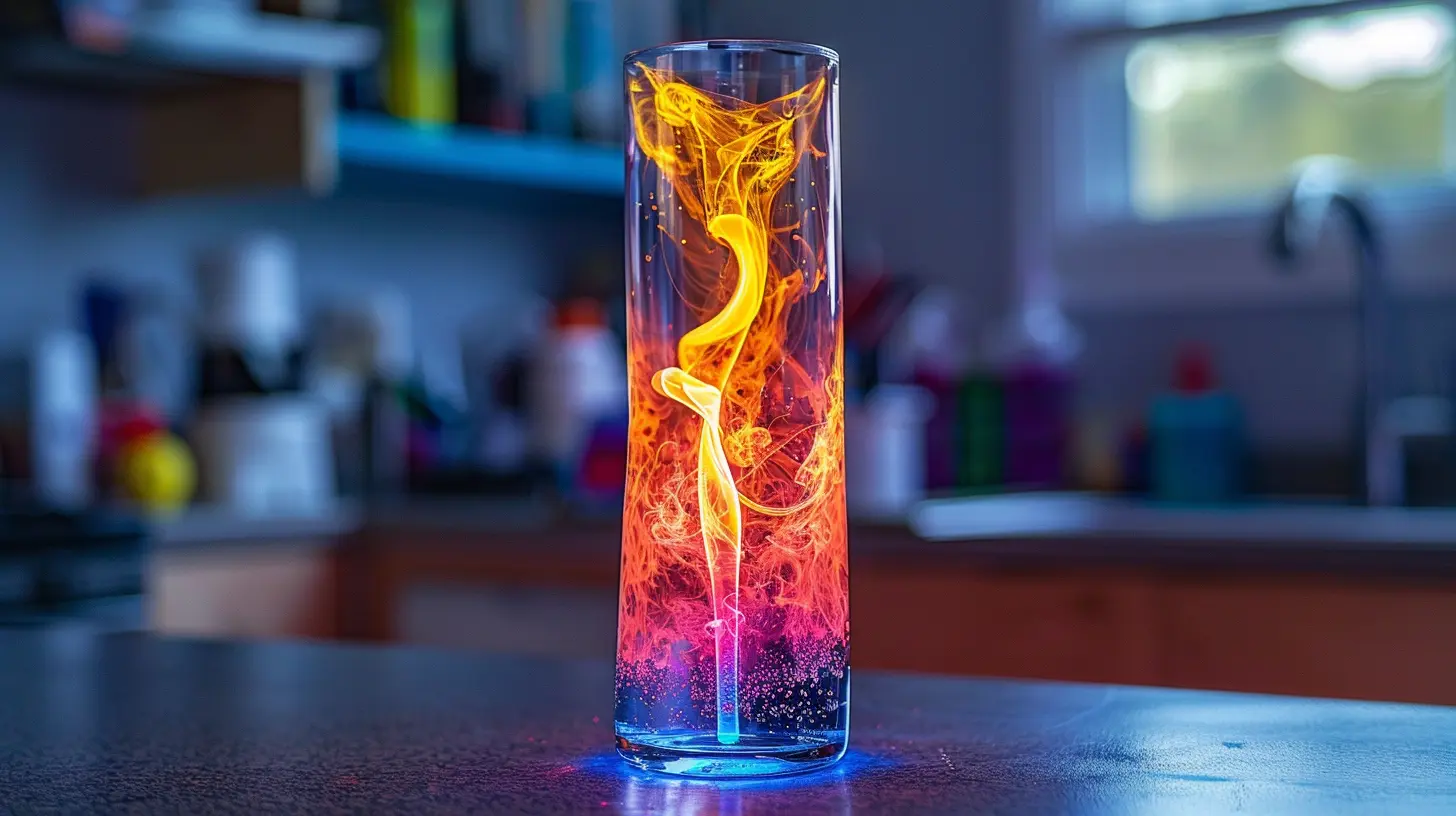
Materials You’ll Need
To make your very own lava lamp, you don’t need any fancy equipment. Here’s what you’ll need:- A clear bottle or glass jar
- Vegetable oil (or baby oil)
- Water
- Food coloring (any color you like)
- Effervescent tablets (like Alka-Seltzer)
- A flashlight (optional but enhances the effect)
Now that we have everything ready, let’s get started! 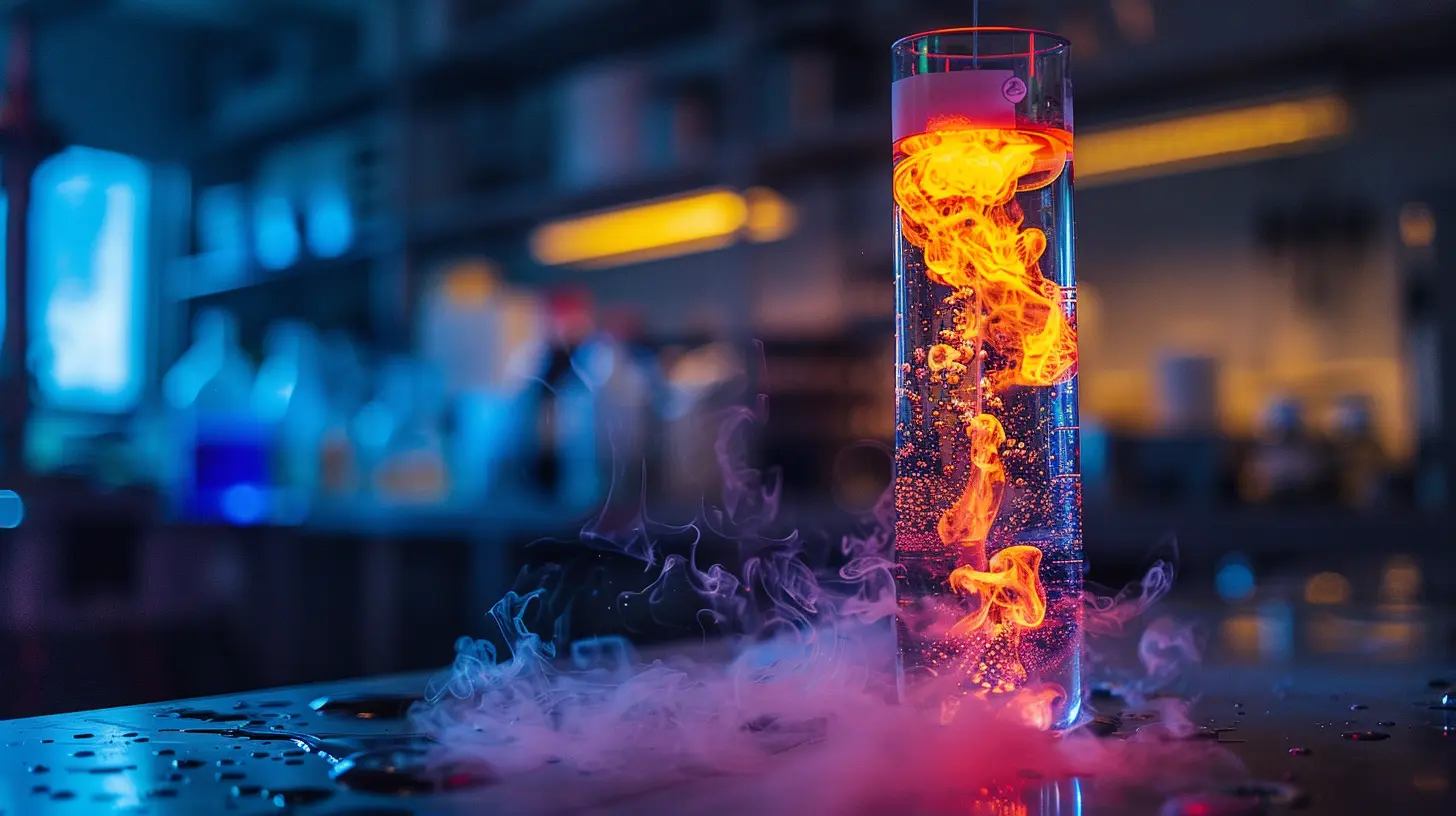
Step-by-Step: How to Make a Lava Lamp
Follow these simple steps to create your homemade lava lamp.Step 1: Fill the Bottle with Oil
First, fill about ¾ of the bottle with vegetable oil. Since oil is lighter than water, this will be the top layer.Step 2: Add Water
Pour water into the bottle until it’s almost full. You’ll notice that water sinks to the bottom while the oil stays on top—this is because of the difference in density.Step 3: Add Food Coloring
Choose your favorite color and add a few drops of food coloring into the bottle. Watch as the droplets pass through the oil and mix with the water at the bottom. This happens because food coloring is water-based, making it denser than oil.Step 4: Drop in the Effervescent Tablet
Now, the magic begins! Break an effervescent tablet into smaller pieces and drop them one by one into the bottle. Immediately, bubbles will start to rise, taking the colored water with them.Step 5: Turn Off the Lights and Shine a Flashlight
To make your lava lamp extra cool, turn off the lights and place a flashlight underneath the bottle. The glowing effect makes it look just like a real lava lamp!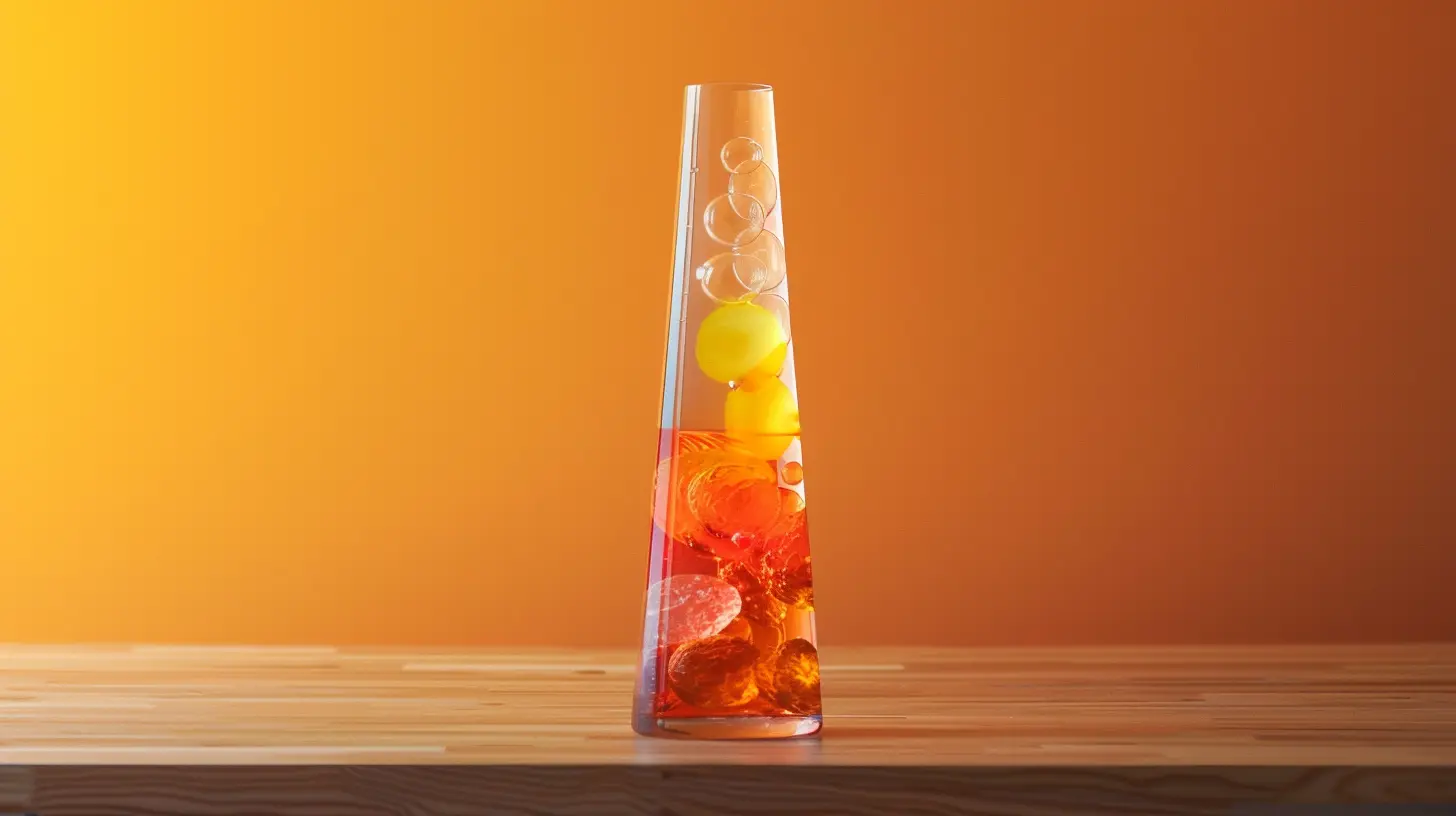
The Science Behind It
So, what’s actually happening inside your homemade lava lamp?1. Oil and water don’t mix – This is due to their different polarities. Water molecules stick together, pushing oil to the top.
2. Effervescent tablets release gas – When they dissolve in water, they create carbon dioxide gas.
3. Gas lifts the water bubbles – As the bubbles rise, they carry some of the colored water with them.
4. Bubbles pop, and water sinks again – When the gas escapes at the top, the dense water falls back down, creating the lava lamp effect.
This cycle continues as long as there’s more effervescent tablet left!
Fun Variations to Try
Want to experiment further? Here are some fun twists to try:1. Use Different Liquids
What if you replace water with milk, juice, or soda? Would it still work the same way? Test it out!2. Try Different Oils
Vegetable oil is common, but what about using coconut oil or mineral oil? See if it changes the effect.3. Experiment with More Colors
Why stick to one color? Add different food coloring drops to see if you can create a multi-colored lava lamp.4. Use Glow-in-the-Dark Paint
For an even cooler effect, mix some glow-in-the-dark paint into the water before adding the tablet. Turn off the lights and enjoy the glow!Real-World Applications of Liquid Density
Understanding liquid density isn’t just for cool lava lamps—it helps in real-world applications too!- Oil spills – Since oil floats on water, cleanup efforts use this principle to remove oil from oceans.
- Cooking – Ever noticed how oil floats on soups or salad dressings? That’s density at work!
- Hot air balloons – Think of air like a liquid. Hot air rises because it’s less dense than cold air, allowing balloons to float.
Pretty awesome, right?
FAQs
1. Can I use baking soda instead of an effervescent tablet?
Not really. Baking soda alone won’t work the same way because it needs an acid to create fizz. You’d have to mix it with vinegar, but it won’t have the same bubbling effect as Alka-Seltzer.2. How long does the lava lamp effect last?
The effect lasts a few minutes per tablet. You can keep adding more tablets to keep it going!3. Is this experiment safe for kids?
Absolutely! Just make sure kids don’t drink the mixture and that they’re supervised while handling small tablets.4. Can I cap the bottle and keep it forever?
Nope! Since the reaction depends on gas escaping, sealing the bottle would stop the movement. But you can always reuse the bottle by adding more tablets later.Conclusion
Making a lava lamp is a fun, hands-on way to learn about liquid density while creating something cool. By observing how different substances interact, you gain a clearer understanding of how the world around you works. So go ahead—grab a bottle, some oil, and an effervescent tablet, and start experimenting today!all images in this post were generated using AI tools
Category:
Science ExperimentsAuthor:

Bethany Hudson
Discussion
rate this article
2 comments
Starling White
This hands-on experiment is a fantastic way to explore liquid density while having fun! Perfect for students, it combines science with creativity, making learning engaging and memorable.
January 28, 2026 at 11:48 AM
Bethany Hudson
Thank you! I'm glad you enjoyed the experiment—it truly makes learning about liquid density fun and creative!
Vito Campbell
Oh great, because who doesn’t want to mix science and art? Nothing says “I understand liquid density” quite like a homemade lava lamp on your desk!
January 16, 2026 at 3:47 AM
Bethany Hudson
Thanks for your comment! Mixing science and art is a fun way to understand concepts like liquid density. Enjoy your lava lamp project!