How to Simulate a Rainforest in a Jar and Study Eco-Systems
26 December 2025
Ever wondered how a rainforest thrives with all its plants, animals, and tiny microorganisms working together? You don’t have to fly to the Amazon to see one in action—you can create a mini rainforest right in a jar!
This fun and educational project will give you a hands-on experience of how ecosystems function. Whether you're a student, a teacher, or just someone who loves nature, building your own self-sustaining ecosystem is an eye-opening experience.
Let’s dive in and see how you can create your very own rainforest in a jar! 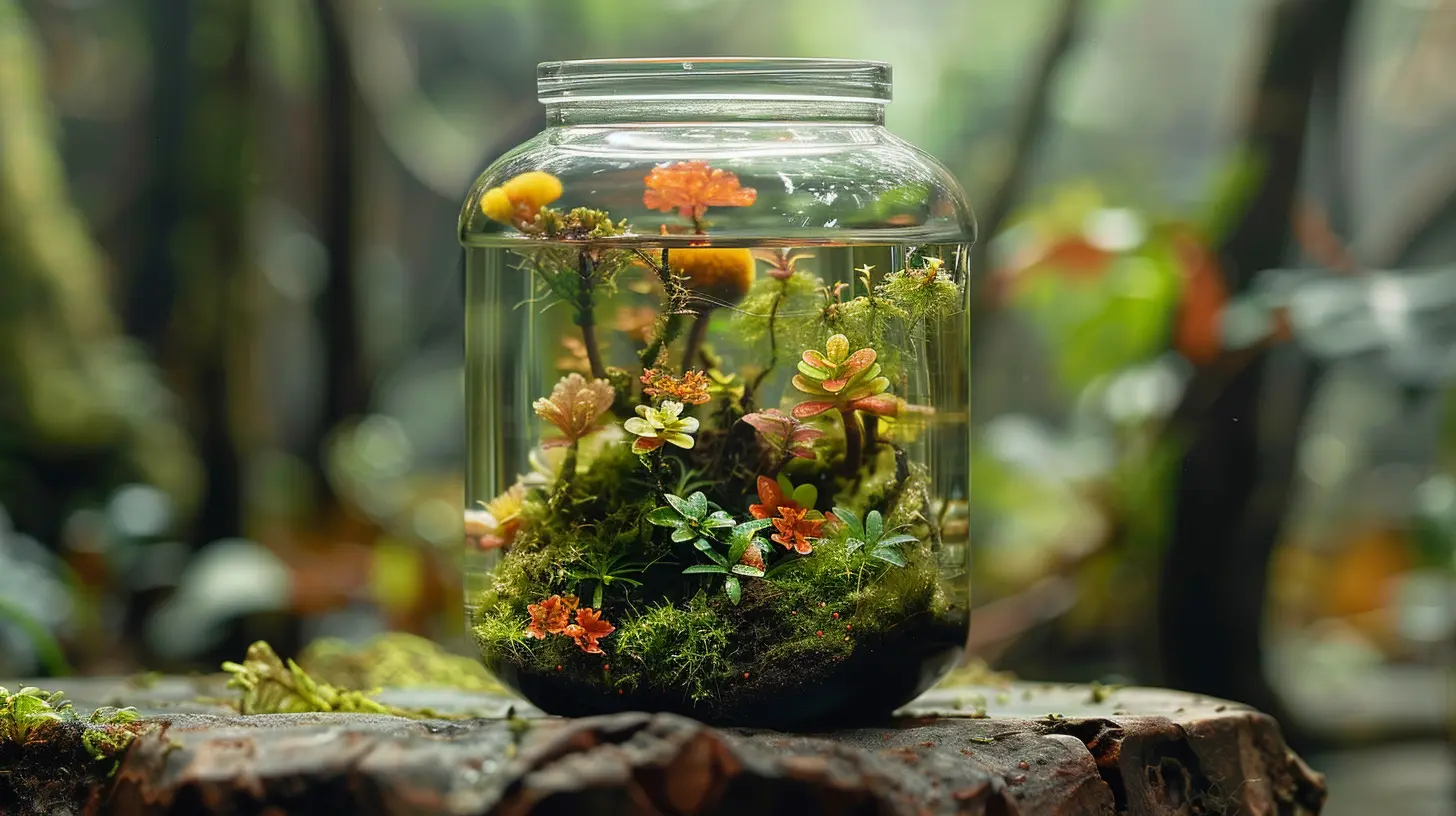
Why Build a Rainforest in a Jar?
A rainforest jar isn't just a pretty decoration—it’s a miniature ecosystem. It's a closed system where plants recycle air, water, and nutrients, mimicking what happens in a real rainforest.Here’s why this experiment is awesome:
- Hands-on Learning – Understand the water cycle, photosynthesis, and ecological balance.
- Eco-Friendly Awareness – Appreciate the delicate balance of our planet’s ecosystems.
- Low-Maintenance – Once set up, it takes care of itself with little intervention.
Now, let’s get to work! 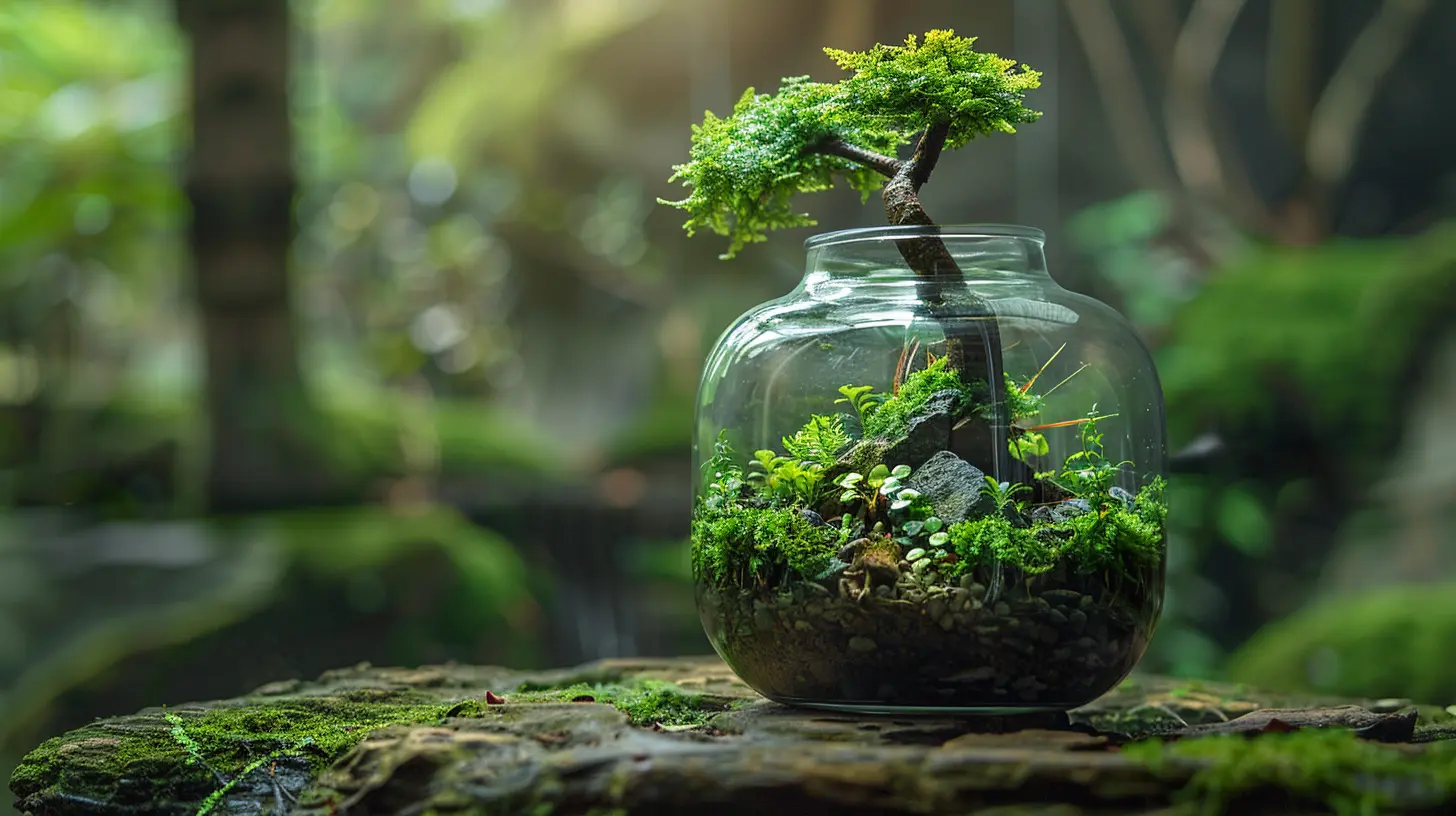
Materials You’ll Need
Before you start, gather these simple supplies:Container
- A clear glass jar with a lid (a large mason jar, pickle jar, or any transparent container)Layers for Your Mini Ecosystem
- Small pebbles or gravel (for drainage)- Activated charcoal (prevents mold and bacteria growth)
- Potting soil (rich in nutrients)
Plants
- Small, moisture-loving plants such as:- Ferns
- Moss
- Baby’s tears
- Fittonia (nerve plants)
Other Essentials
- Spray bottle with water- Tweezers (for precise planting)
- A spoon or stick (to help arrange layers)
Got everything? Great! Let’s build. 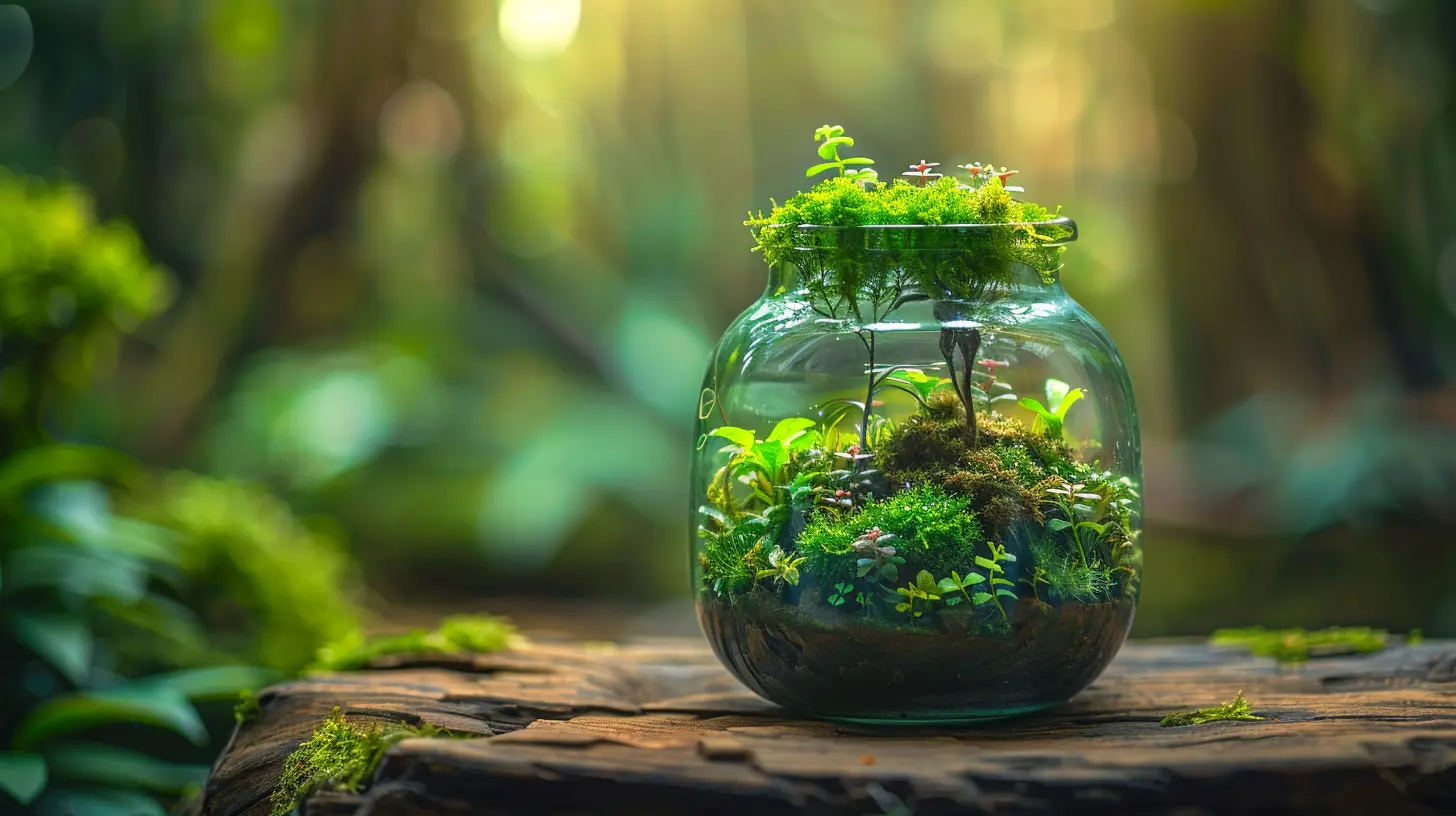
Step-by-Step Guide to Creating a Rainforest in a Jar
1. Start with a Drainage Layer
First, add a layer of small pebbles or gravel at the bottom of the jar. This helps in water drainage so that your plants don’t sit in excess moisture and rot. About 1 to 2 inches will do.2. Add Activated Charcoal
Next, sprinkle a thin layer of activated charcoal over the pebbles. This keeps the jar fresh by preventing bacteria, mold, and unpleasant odors.3. Layer in the Soil
Now, add a few inches of nutrient-rich potting soil—enough to support plant roots but not too much that it crowds the jar.4. Plant Your Mini Rainforest
This is where the fun begins! Gently plant small ferns, moss, or tropical plants into the soil. Use tweezers if needed to carefully position them.Aim for a variety of heights and textures to mimic a real rainforest. Keep taller plants toward the back and smaller ones in front to create a natural look.
5. Water Your Ecosystem
Lightly mist the plants and soil with your spray bottle. Don’t drench them—just create a humid atmosphere like a real rainforest.6. Seal It Up
Place the lid on the jar to trap moisture and create a self-sustaining water cycle. You’ve now built your very own closed ecosystem!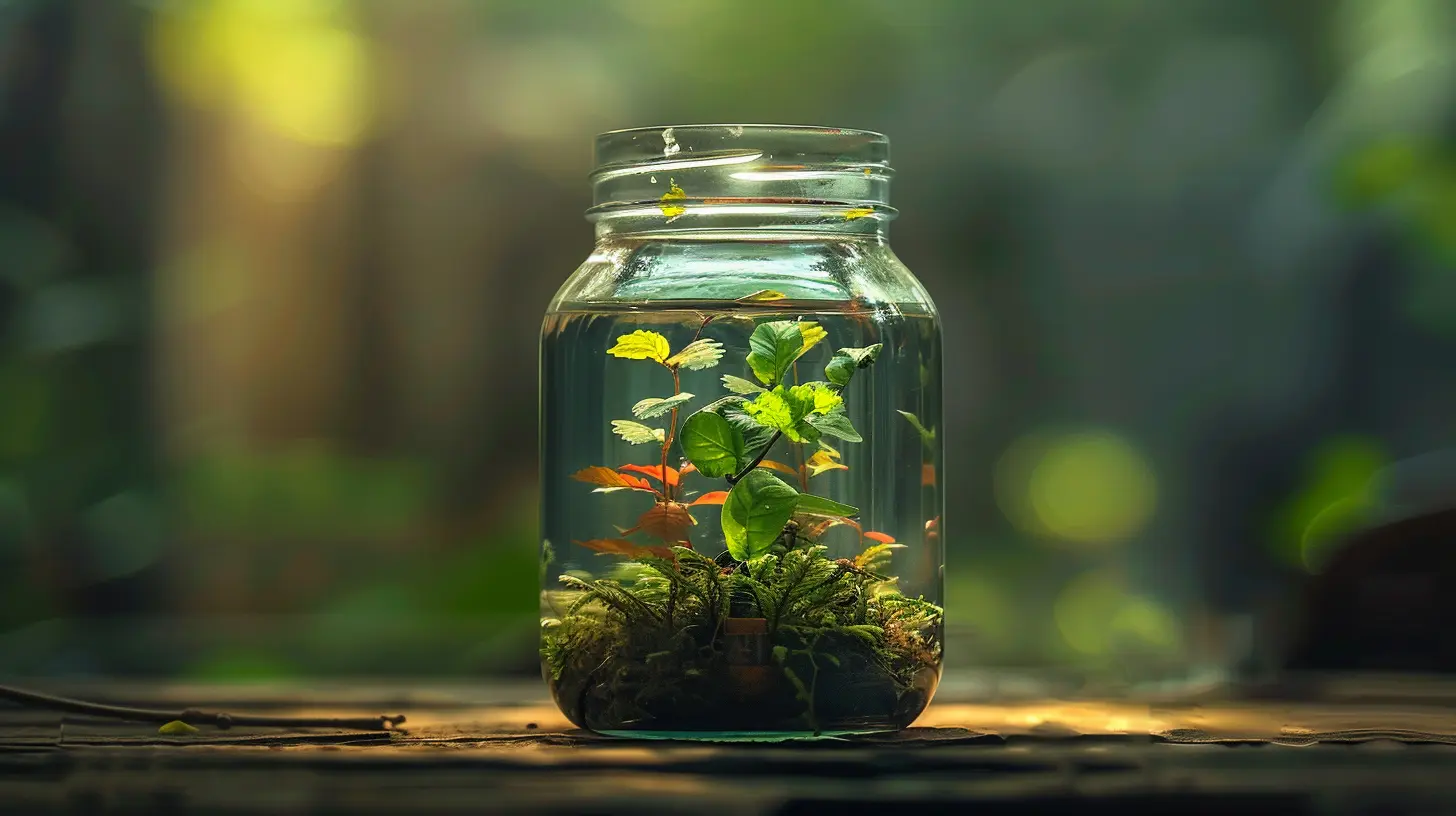
What Happens Inside Your Mini Rainforest?
Once sealed, your jar becomes a tiny, self-sustaining ecosystem. Here’s the science behind it:🌧️ The Water Cycle
- Water evaporates from the soil and plant leaves.- It condenses into tiny droplets on the jar’s walls.
- The droplets fall back into the soil, keeping everything moist—just like rain in a real rainforest!
🌱 Photosynthesis & Oxygen Cycle
- Plants take in carbon dioxide and release oxygen through photosynthesis, ensuring fresh air inside the jar.- This cycle keeps the plants alive without constant opening.
🍃 Decomposition & Nutrient Cycling
- Dead leaves and organic matter break down, recycling nutrients back into the soil.- This mimics the natural cycle where nothing goes to waste!
How to Maintain Your Rainforest Jar
Since this is a closed system, it mostly takes care of itself. However, here are some simple tips to keep it thriving:✅ Check Moisture Levels
Too much condensation? Open the jar for a few hours to let excess moisture escape. If it looks too dry, mist it lightly.✅ Provide Indirect Light
Place your jar in bright but indirect sunlight. Too much direct sun can overheat it, while too little can weaken the plants.✅ Trim Dead Leaves
Occasionally remove any dead leaves to prevent mold and keep the ecosystem healthy.Studying Your Rainforest Ecosystem
Now that you’ve built your mini rainforest, you can use it to study ecosystems in action!🔬 Observe Changes Over Time
- How does condensation form?- Are new leaves growing?
- Do the plants change color or size?
📖 Keep a Rainforest Journal
Record observations weekly, noting any changes in plant growth, water levels, or condensation patterns.🧪 Experiment with Variables
Try adding a small insect like a pill bug or experimenting with different plant species to see how it affects the system.Real-World Applications of This Experiment
Creating a rainforest in a jar isn’t just a cool experiment—it reflects real environmental challenges and solutions:- Understanding Climate Change – How human activities impact rainforests.
- Studying Deforestation Effects – What happens when elements of an ecosystem are removed?
- Learning About Sustainable Ecosystems – How plants and microorganisms maintain balance.
By observing your jar, you’ll gain insight into how the real rainforests function—and why it’s crucial to protect them!
Final Thoughts
Simulating a rainforest in a jar is a fun, low-maintenance, and eye-opening way to study ecosystems. You don’t need a greenhouse or fancy equipment—just a jar, some plants, and a curiosity for nature!So, why not give it a try? You’ll not only build a tiny rainforest but also deepen your understanding of how nature keeps everything in balance. Who knew learning about ecosystems could be this exciting?
all images in this post were generated using AI tools
Category:
Science ExperimentsAuthor:

Bethany Hudson
Discussion
rate this article
2 comments
Kayla McLean
Turn your kitchen into a mini jungle—save the planet one jar at a time!
January 25, 2026 at 3:59 AM
Bethany Hudson
Great idea! Creating a mini jungle in your kitchen is a fun way to learn about ecosystems and promote sustainability. Happy experimenting!
Dulce Harper
What a delightful idea! Creating a mini rainforest sounds like a fun and educational project that brings nature right into our homes. Can’t wait to try this with my kids and explore ecosystems together! 🌿🌧️
December 26, 2025 at 4:44 AM
Bethany Hudson
Thank you! I'm so glad you found it inspiring. Enjoy exploring ecosystems with your kids! 🌱🌍