Rocket Science for Beginners: Launching Your Own Bottle Rocket
24 August 2025
Ever looked up at a rocket launch and thought, “Man, wouldn’t it be cool to do that myself?” Well, you’re in luck—because you don’t need a degree from NASA or Elon Musk’s budget to dip your toes into rocket science. In fact, you can literally blast off using nothing more than a soda bottle, water, and a little bit of pressure. Welcome to the world of bottle rockets—a surprisingly powerful, insanely fun, and totally educational way to understand the basics of rocket science right in your backyard.
In this post, we’re going full throttle into the basics of rocketry. Whether you’re a student trying to build a science project, a teacher looking for an epic classroom experiment, or just a curious mind ready to launch something into the sky, this guide is for you.
Let’s light this candle!
🚀 What is Rocket Science Anyway?
Rocket science sounds intimidating, right? But let’s break it down—it’s just physics in motion. At its core, rocket science is all about one thing: Newton’s Third Law of Motion.> “For every action, there is an equal and opposite reaction.”
In simple terms, when gas (or water, in your case) pushes down out of the bottle, the bottle goes up. That’s rocket science in a nutshell.
The key elements? Propulsion, aerodynamics, thrust, gravity, and air resistance. Don’t worry, we’ll make all of these easy to understand as we step into the DIY world of bottle rockets.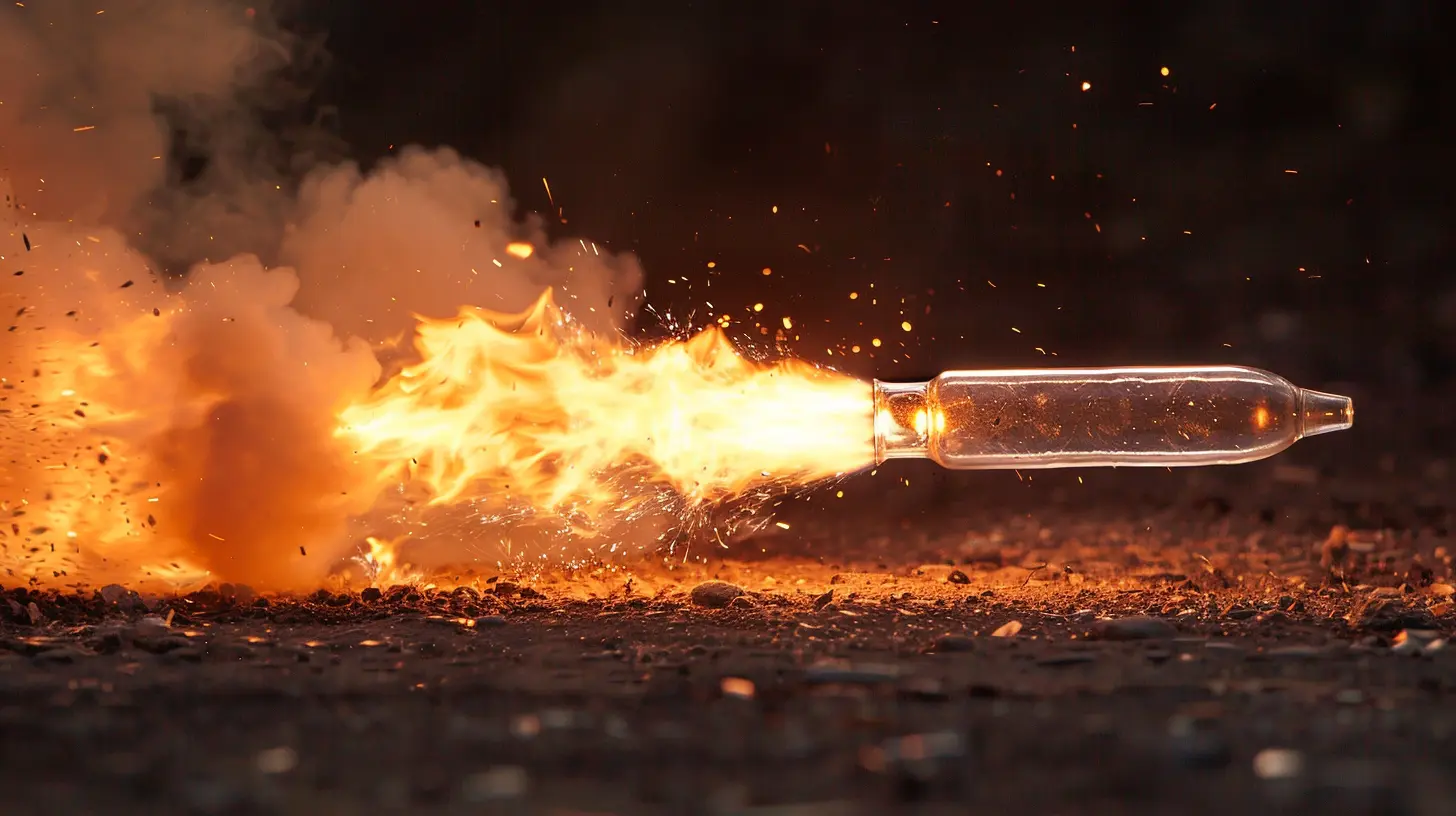
🧪 The Science Behind a Bottle Rocket
Let’s strip things down to the basics. A bottle rocket works by building pressure inside a closed container—like a plastic soda bottle—then releasing that pressure in a single powerful burst. Typically, water serves as your fuel (yep, good ol’ H₂O), and air acts as the propellant.Here’s how it works:
1. Air is pumped into the bottle using a pump. This increases pressure inside.
2. Water is already in the bottle, and as airtime widens, pressure forces the water down and out of the nozzle (a.k.a. the bottle opening).
3. The force of the water escaping pushes the rocket up into the sky.
Sounds basic, but the physics going on inside that little plastic bottle is the same stuff that sends SpaceX rockets soaring above the clouds.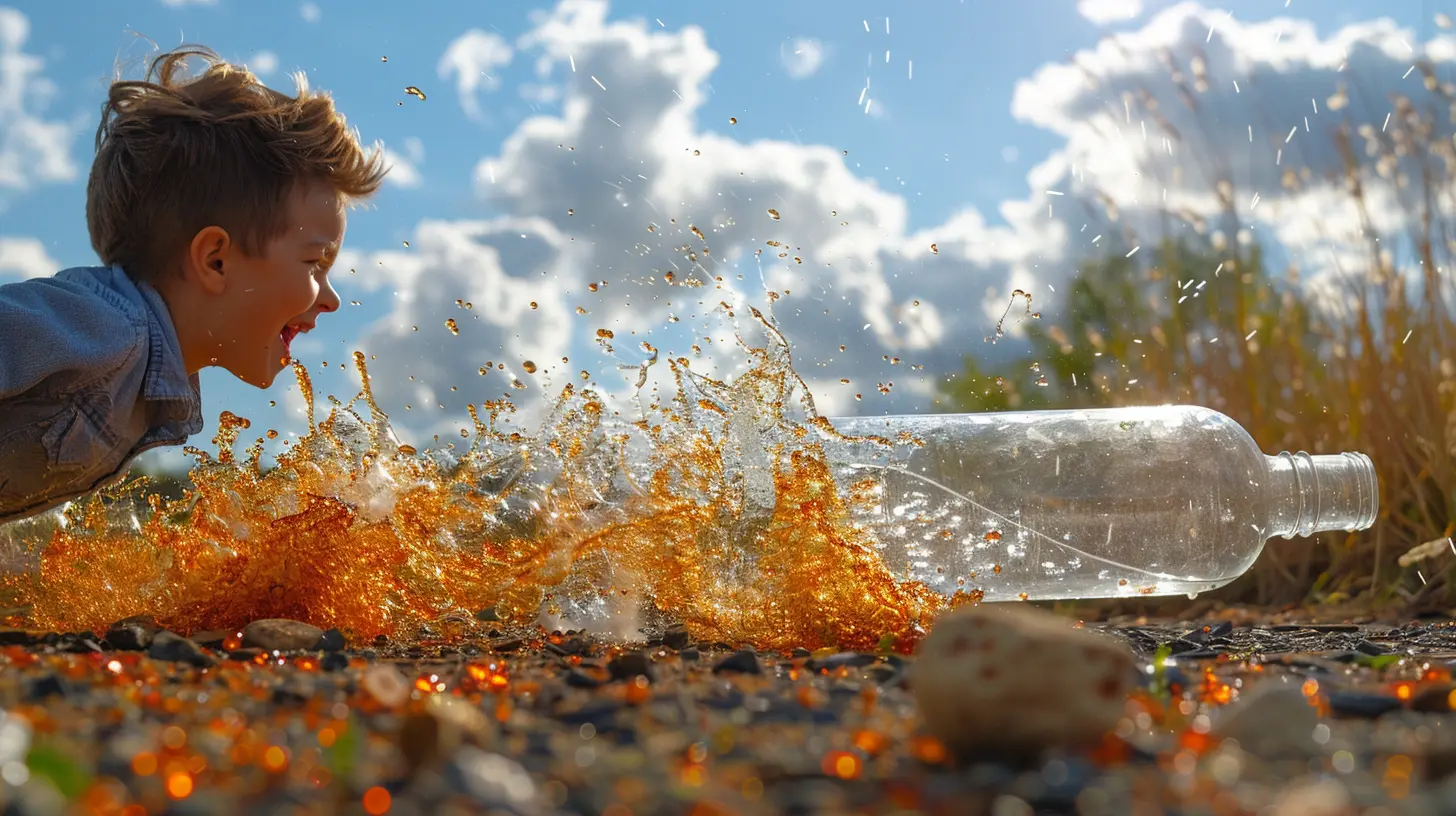
🧰 Materials You’ll Need
Before you start strapping goggles on and thinking about countdowns, let’s gather what you need. Most of the supplies are probably already in your garage or kitchen.- 1 empty 2-liter plastic soda bottle (strong and sturdy)
- Water (your rocket fuel)
- A cork that fits snugly in the bottle opening
- A bicycle pump with a needle adapter
- Duct tape or electrical tape
- Scissors or a utility knife
- Cardboard or foam board (for fins and nose cone)
- A launch pad (this can be as simple as an angled piece of wood or PVC pipe stand)
- Safety goggles (yes, safety first!)
Optional materials:
- Food coloring (to make it prettier)
- Parachute (if you want to get fancy and recover the bottle)
✂️ Step-by-Step: How to Build Your Bottle Rocket
All set? Let’s get our hands dirty.Step 1: Prep the Bottle
First things first. Clean the bottle and remove any labels so you can work without sticky residue. Flip it upside down—this is how it will “sit” during flight.Step 2: Add the Fins
Use cardboard, foam board, or plastic to cut out three or four fins. Think shark fins—triangular shapes work well. Attach them evenly around the bottle's base using duct tape. These keep your rocket stable during flight so it doesn’t spin out of control. Trust me, they make a huge difference.Step 3: Design a Nose Cone (Optional But Cool)
Want your rocket to look sleek and go higher? A lightweight nose cone helps with aerodynamics. Roll a piece of paper or foam into a cone and tape it to the bottom end (now the "top") of the bottle. You can also add a small parachute here if you're feeling ambitious.Step 4: Fill It Up
Turn your bottle rocket right-side-up and fill it about one-third full with water. Why one-third? Through test after test, this has shown to be the sweet spot. Too little water, and you won’t get enough thrust. Too much, and there isn’t enough space for air pressure.Step 5: Insert the Cork & Pump
Now, time to get things pressurized. Stick the cork into the mouth of the bottle tightly. Fit the pump’s needle through the cork so it reaches inside the bottle. Make sure this setup is tight—no air should leak out.Set your rocket upside down on your launch stand.
⏱️ Ready for Launch!
Make sure everyone is at a safe distance. Put on your goggles. Shout your countdown like you’re at Cape Canaveral. Then start pumping air into the bottle.3… 2… 1… WHOOSH!
If everything’s done right, the pressure will eventually force the cork out, water will rush downward out of the bottle, and your rocket will launch skyward with an impressive burst.
🌬️ How to Make It Fly Higher
So your first launch was cool—but not NASA-level epic?No worries. Here are a few pro tips to boost your altitude:
- Tweak the Water Ratio: Experiment with different amounts of water to find the sweet spot. Try 1/4 full, 1/2 full, etc.
- Tighten the Seal: A leaking cork is a sad cork. Make sure it’s sealed tight so the pressure builds up properly.
- Streamline the Shape: Fins should be symmetrical, and the rocket should be as smooth as possible to cut down on drag.
- Get Fancy with Parachutes: Adding a simple paper or plastic parachute makes for a soft landing and multiple launches.
🧠 What Are You Actually Learning Here?
While you’re out launching bottle rockets and impressing the neighbors, you're also soaking in real scientific principles.Here’s what you’re picking up:
- Newton’s Laws of Motion: Every part of this experiment is packed with real physics.
- Aerodynamics: How air moves around your rocket impacts performance.
- Pressure Mechanics: You’re dealing with real-world applications of gas laws.
- Trial and Error: You learn the art of hypothesizing and improving through testing.
Basically, you’re being a legit scientist without even realizing it. And guess what? That’s what makes learning addictive—you get to build, break, and build again.
🧪 Simple Science Experiments to Take It Further
Love the bottle rocket? Wanna do more?Here are some next-level variations:
1. Double Bottle Rocket: Use two bottles taped together to increase fuel capacity and possibly fly higher.
2. Add a Parachute: Test different designs to see which slows descent best.
3. Angle of Launch: Try launching at 45° instead of straight up. How does trajectory change?
4. Bottle Rocket Car: Mount the bottle on wheels and test how pushing water downward propels it forward horizontally.
Each one teaches a unique scientific concept and makes you a better mini-engineer.
⚠️ Safety Tips You Shouldn’t Skip
Don’t be that person who ends up on a fail compilation video. Always keep safety top of mind.- Never Look Into the Bottle Once Pressurized – This is key. It can launch at any moment.
- Use Outdoors Only – Bottle rockets are powerful and unpredictable.
- Goggles Are a Must – You only get two eyes. Protect them.
- Keep a Safe Distance – Everyone should stand a few feet back during launch.
Better safe than scrubbing soda out of your ceiling—or worse!
🧑🚀 Final Thoughts: Rocket Science Isn’t Just for Rocket Scientists
You don’t need to be a rocket scientist to do rocket science. All it takes is curiosity, a few household items, and a willingness to experiment. This bottle rocket project is not only an awesome introduction to physics, it’s also a blast—pun totally intended.By launching your own bottle rocket, you’re joining the ranks of every engineer, scientist, and dreamer who looked up at the sky and thought, “What if?”
And who knows? Today it’s a soda bottle... tomorrow it might just be a satellite.
So go ahead—gear up, pump the pressure, and blast off into the world of DIY aerospace adventure.
all images in this post were generated using AI tools
Category:
Science ExperimentsAuthor:

Bethany Hudson
Discussion
rate this article
1 comments
Morrow Russell
This article provides an engaging introduction to the principles of rocket science through a fun DIY project. By guiding readers on how to create their own bottle rocket, it effectively combines hands-on learning with scientific concepts, sparking curiosity and creativity in aspiring young scientists.
September 14, 2025 at 3:01 AM
Bethany Hudson
Thank you for your kind words! I'm glad you enjoyed the article and found the DIY project engaging. Happy launching!